Scenes Tutorial
Welcome! Scenes is a scenefile editor built by the CS 1230 staff that allows you to visualize and modify scenes in the course's JSON scenefile format. This tutorial will walk you through the basics of using Scenes. We recommend reading the scenefile documentation before continuing. With that said, let's get started!
Getting Started
Upon opening Scenes, you will be greeted with the following screen:

Viewport
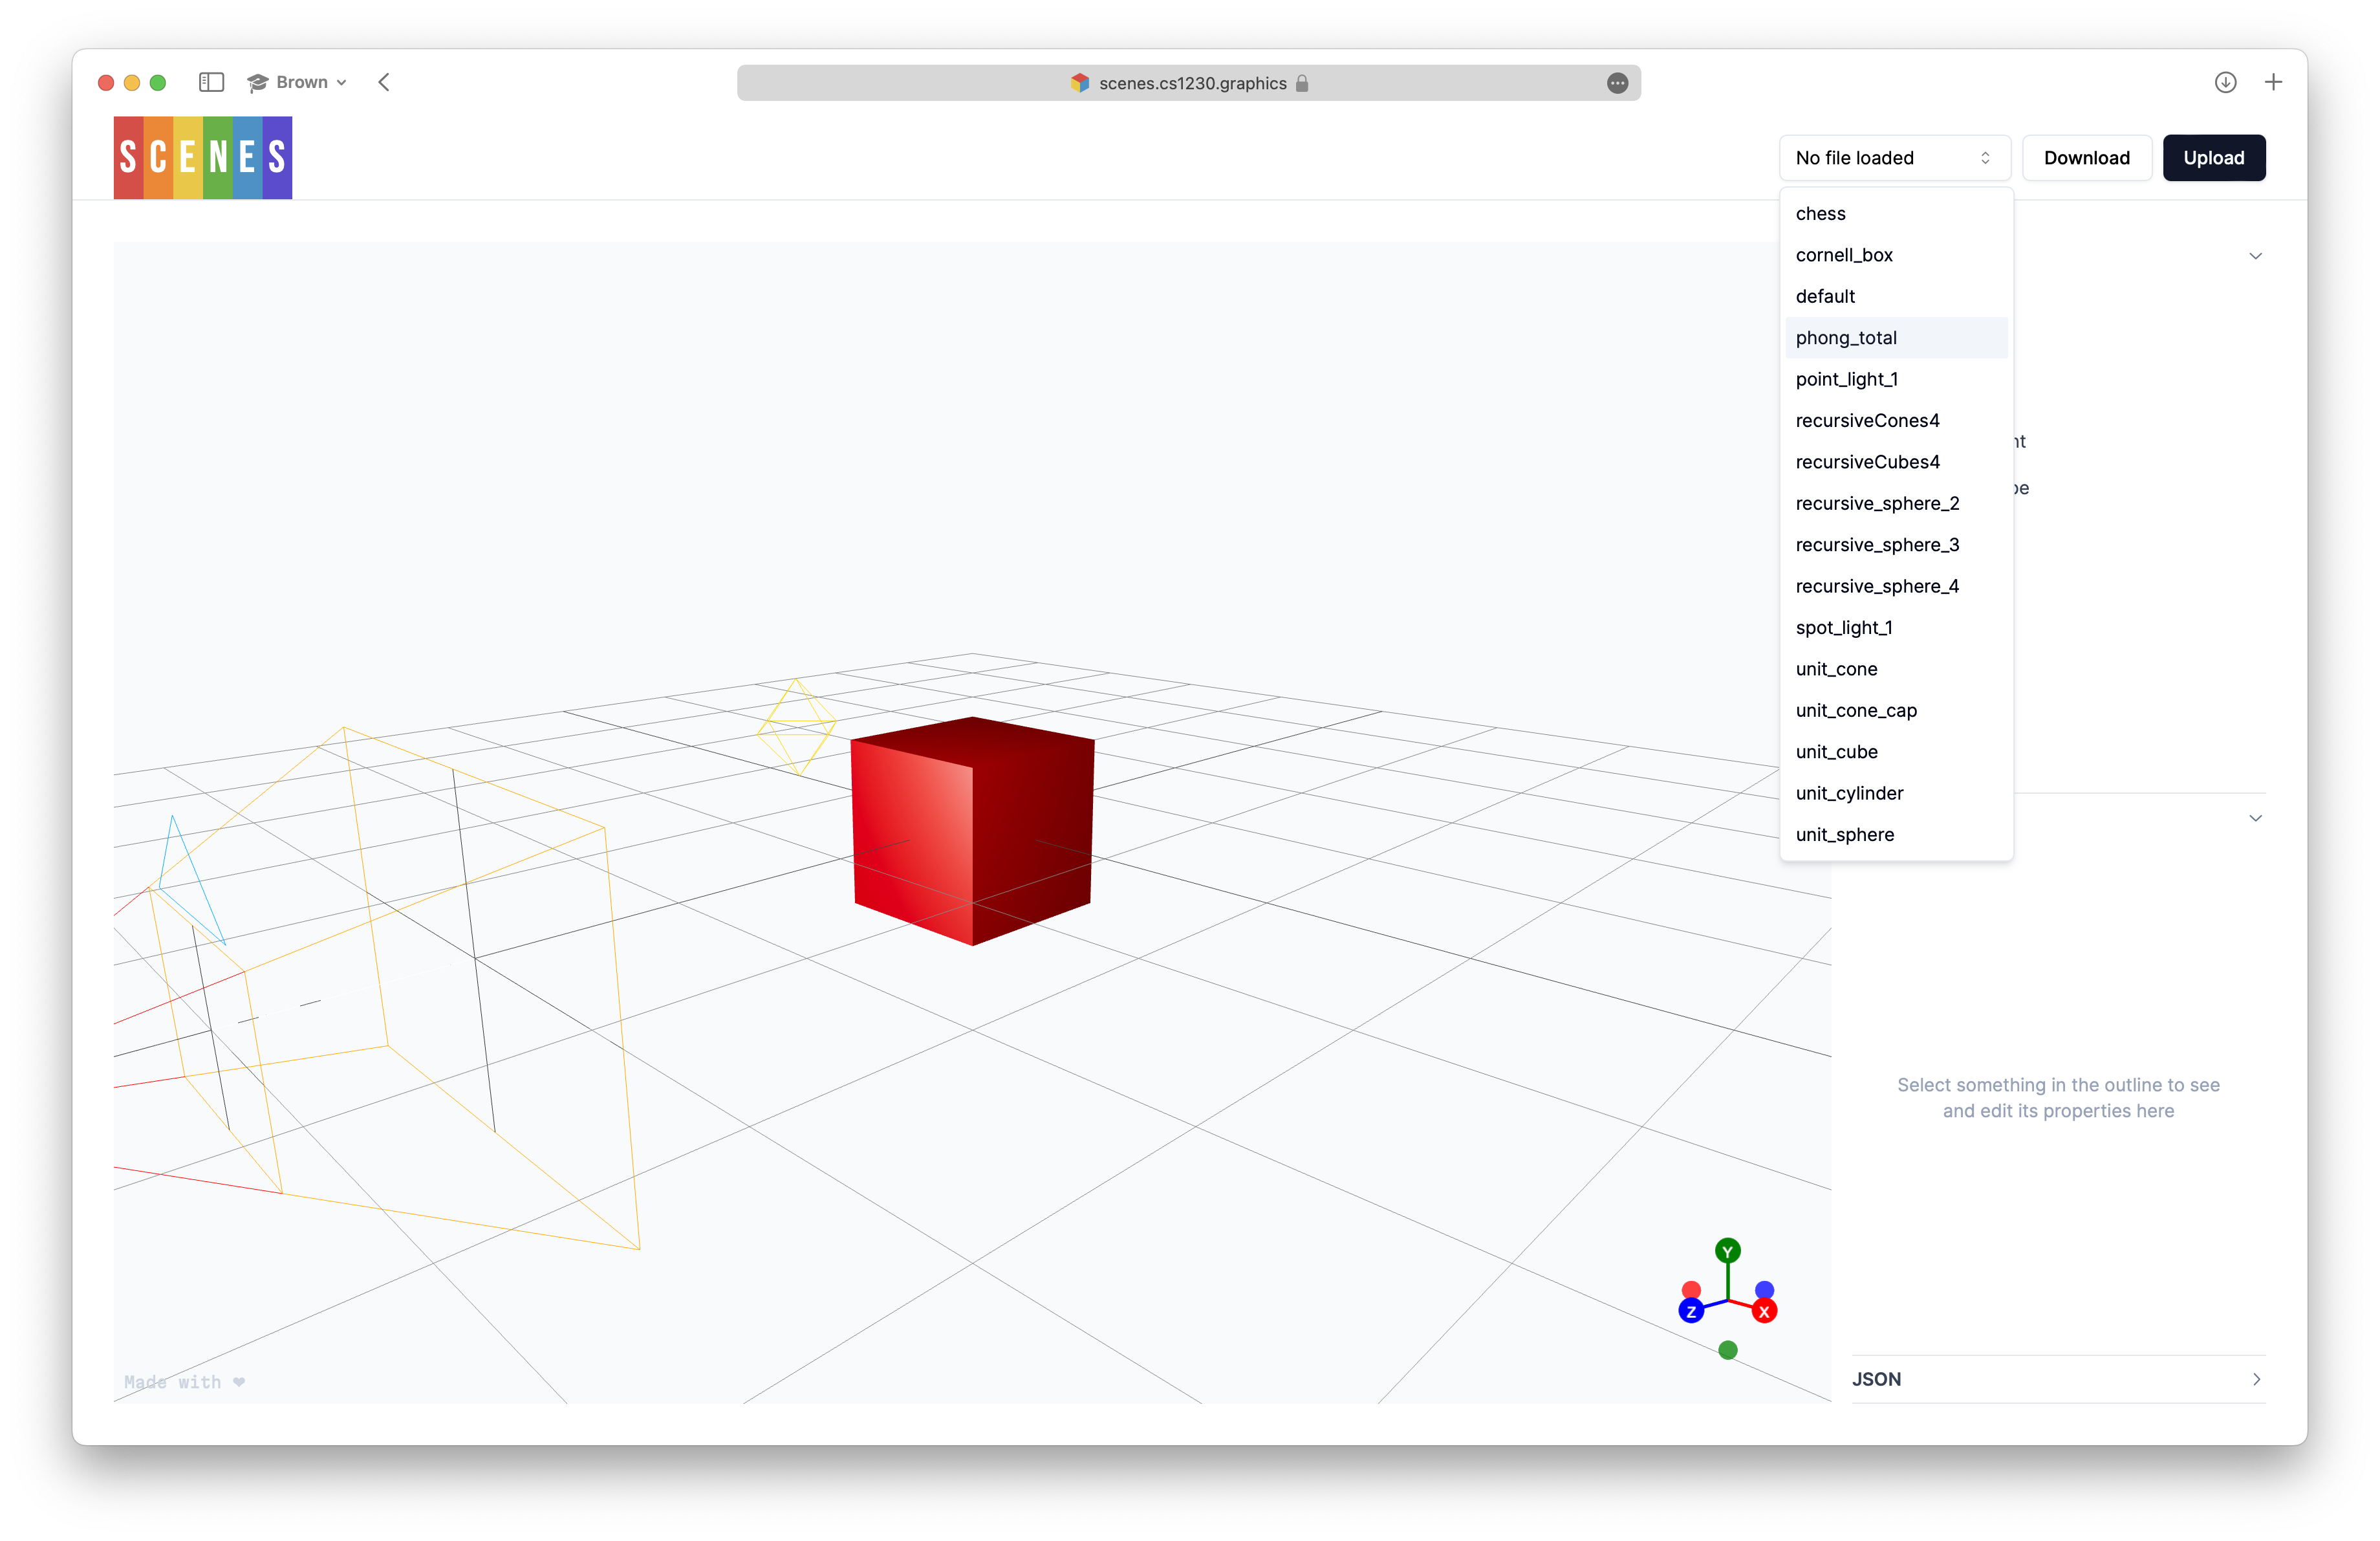
The window taking up the majority of the screen, starting on the leftside, is the viewport. This is where all that is contained in the scene will be rendered. You start with what we call the "default" scene: a single cube and point light. To change scenes, you can either a scenefile you possess locally by clicking the "Upload" button in the top right, or you can click the expandable dropdown menu which allows you to select from some pre-made scenes that we have provided.
Note that switching between scenes will cause you to lose any unsaved changes to your current scene. When in doubt, you can always export the scene as it currently is by clicking the "Download" button situated next to "Upload." This will export the current scene as a .json file to your computer which may be uploaded back into Scenes at a later time or used in your own Ray implementations.
Sidebar
Finally, you may notice the sidebar placed to the right of the scene, broken into 3 tabs: "Outline", "Editor", and "JSON". Let's go over each of these tabs in detail.
Outline
The Outline provides a hierarchical view of the scene, allowing you to see its structure and the objects contained within it. Selecting items in the Outline will open up their controls in the Editor, which we will discuss in the next section.
Groups are represented as dropdowns - you can click on a group to expand or collapse it and reveal or hide its children. Primitives and lights are indicated by their corresponding icons.
On groups you will notice a small "plus" icon. Clicking this will add a new child to the group: either a new group, primitive, or light. In most cases where you are trying to add some element that you can move freely about the scene, you will want to start by adding a new group, and then adding a primitive or light to the group you just created.
On primitives, lights, and groups, you will notice a small "trash" icon. Clicking this will delete the item from the scene. Note that this action cannot be undone, so be careful!
Editor
Selecting an element in the scene, either by clicking it in the viewport or selecting it in the outline, will target it so that it can be modified by the Editor. The attributes modifiable by the Editor are dependent on the type of object selected. For example, selecting a primitive will allow you to modify its material properties, while selecting a group will allow you to modify its transforms. Note that clicking the top-most item of the outline will select the scene itself, which will allow you to modify the global material properties. Changes made in the editor are immediately reflected in the viewport.
JSON
The JSON panel displays the current state of the scene in the JSON scenefile format. This is useful for debugging purposes, or if you want to see the exact structure of the scene as it will be exported. Note that you cannot modify the scene by editing the JSON directly.
Camera
One of the most important elements in a scene is the camera.
In the viewport, the camera helper shows you where the camera is positioned and oriented, and its blue triangle indicates the direction of its up vector.
In the Outline, the camera is always right underneath the root of the scene. Selecting the camera will allow you to modify its position, orientation, and height angle. Additionally, it allows you to save the current view of the viewport as the scene camera's view with the "Save View" button. If you ever get lost or simply want to see the scene from the perspective when rendered, you may click "Reset viewport" so as to make the viewport aligned with the view of the camera.
Using Scenes
Now that we have gone over the basics of the interface, let's go over how to really use Scenes!
Let's choose an initial scene to work with. For this tutorial, we will be using the phong_total scene, one of the presets provided by Scenes. As mentioned, you can select these presets by clicking the dropdown in the top right:
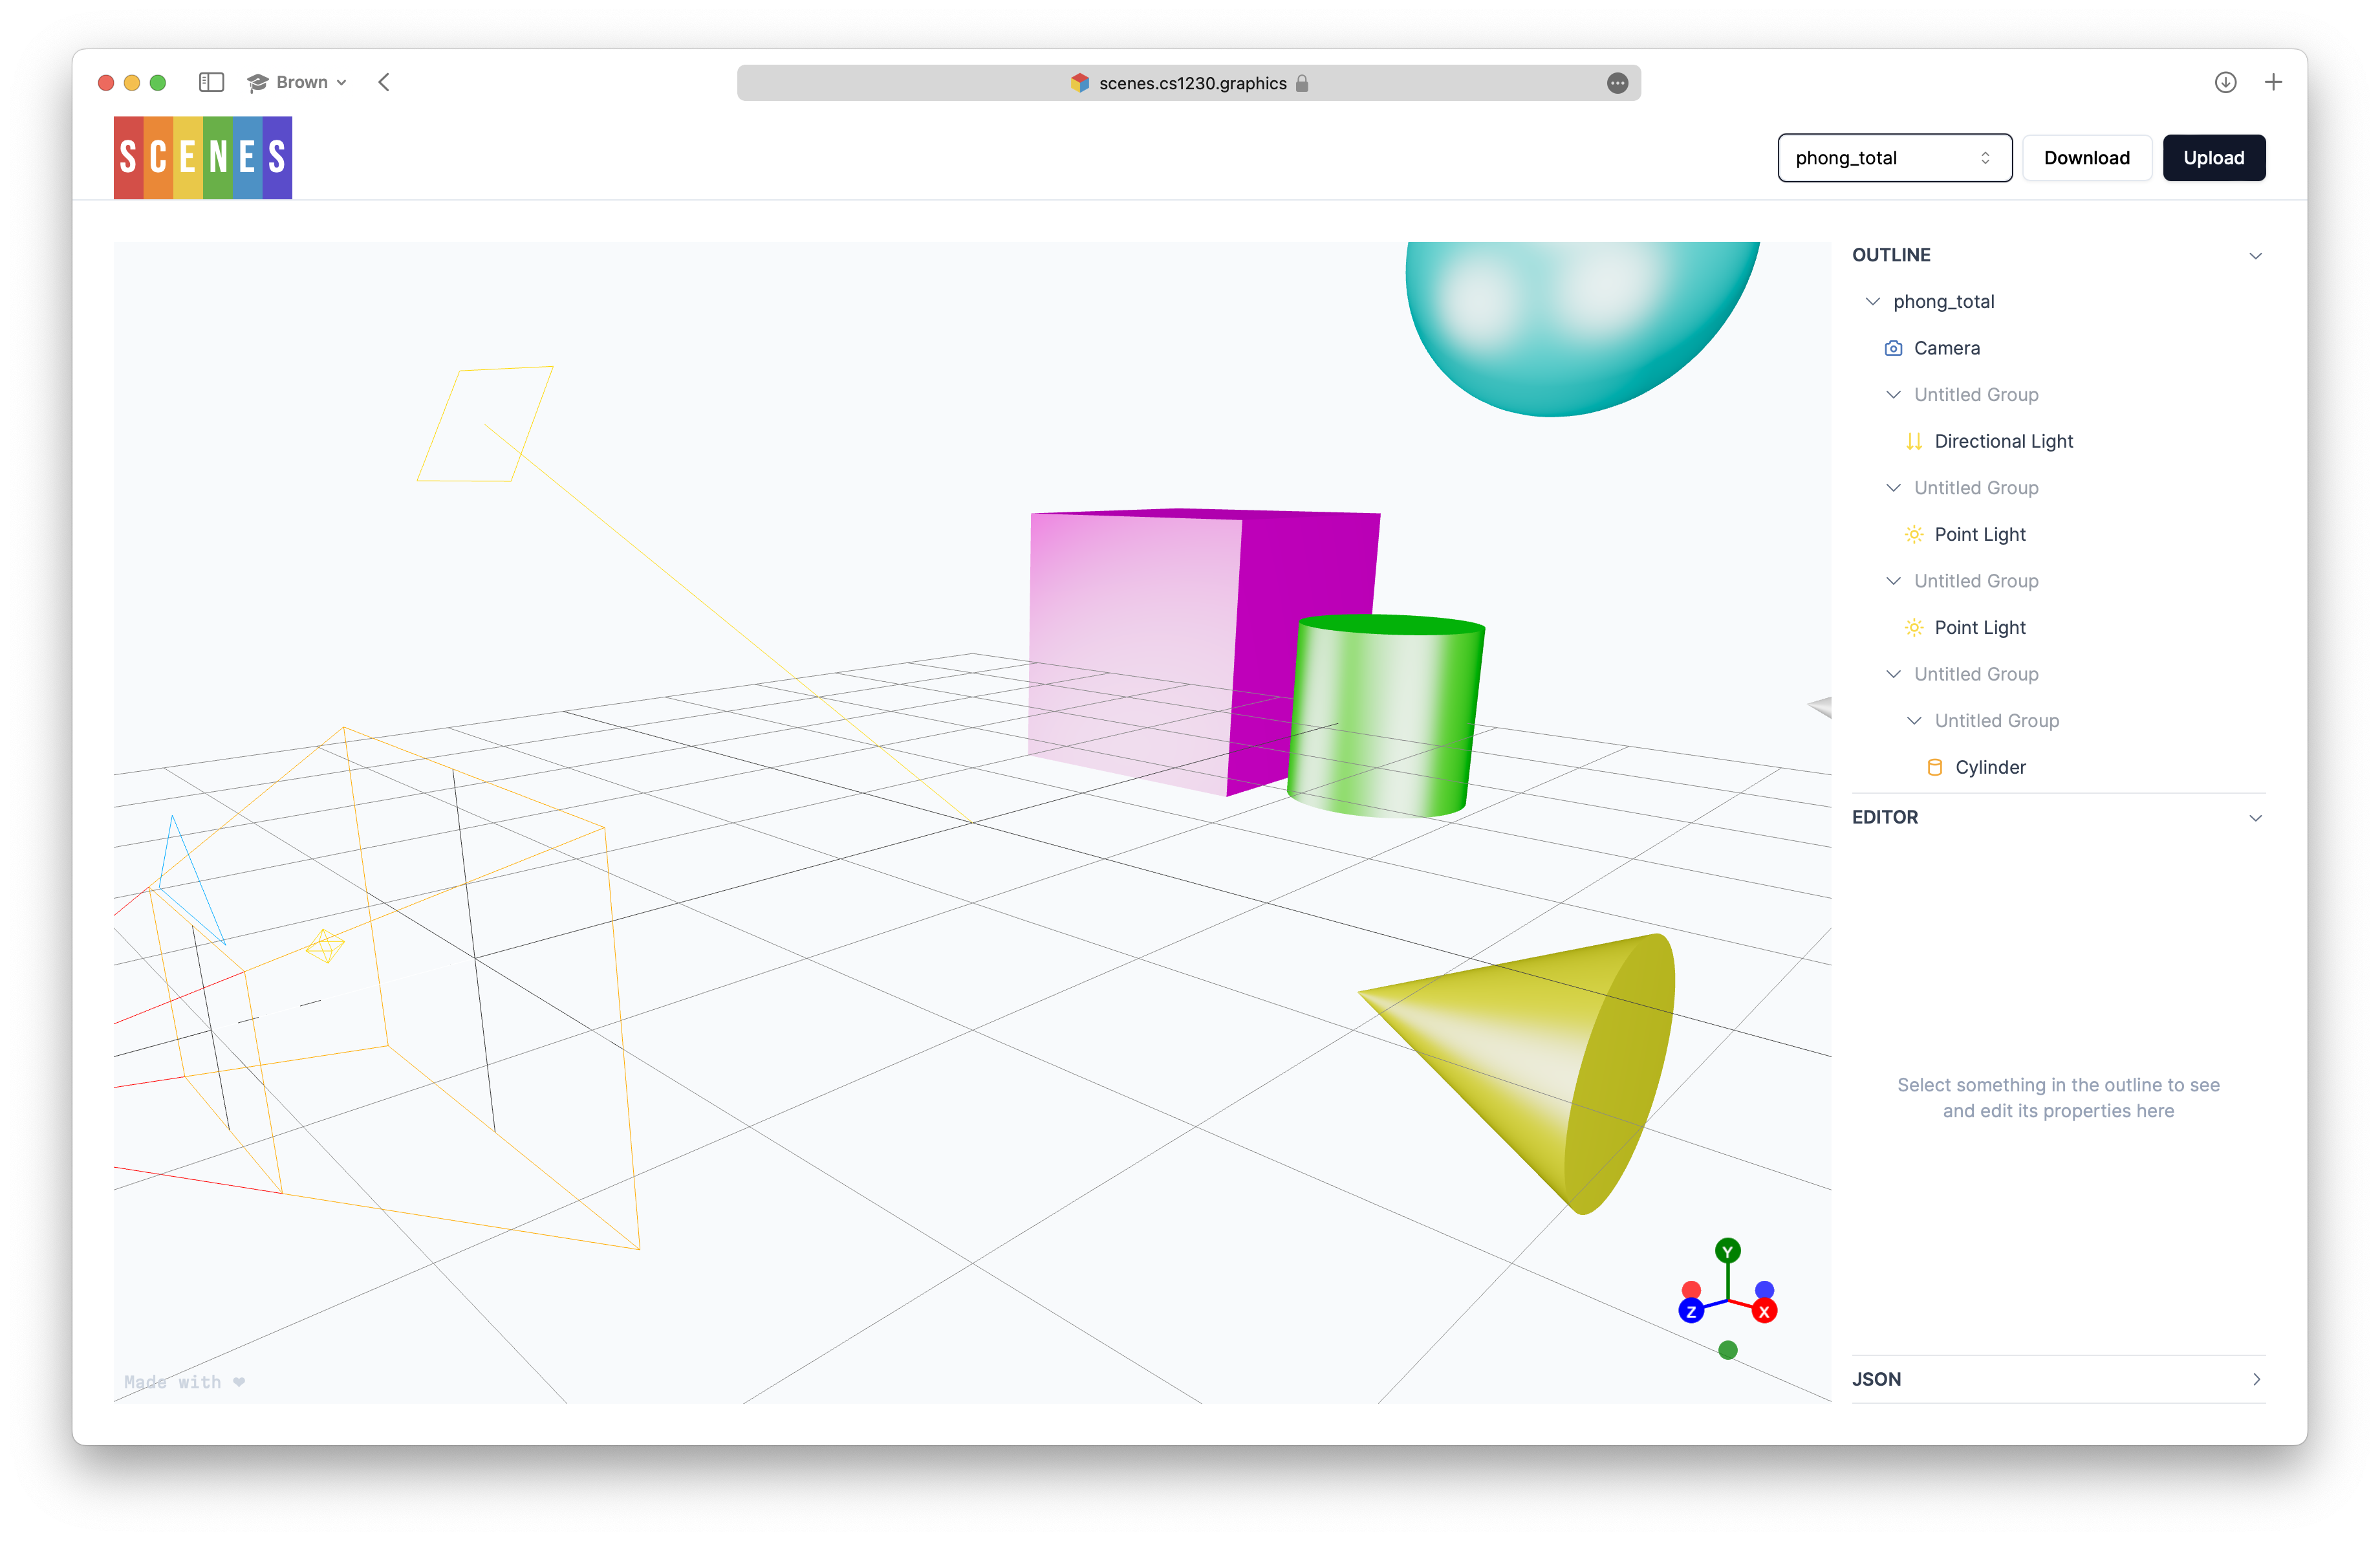
Upon selecting the phong_total scene, we should now see the scene rendered in the viewport and the corresponding scene structure in the Outline.
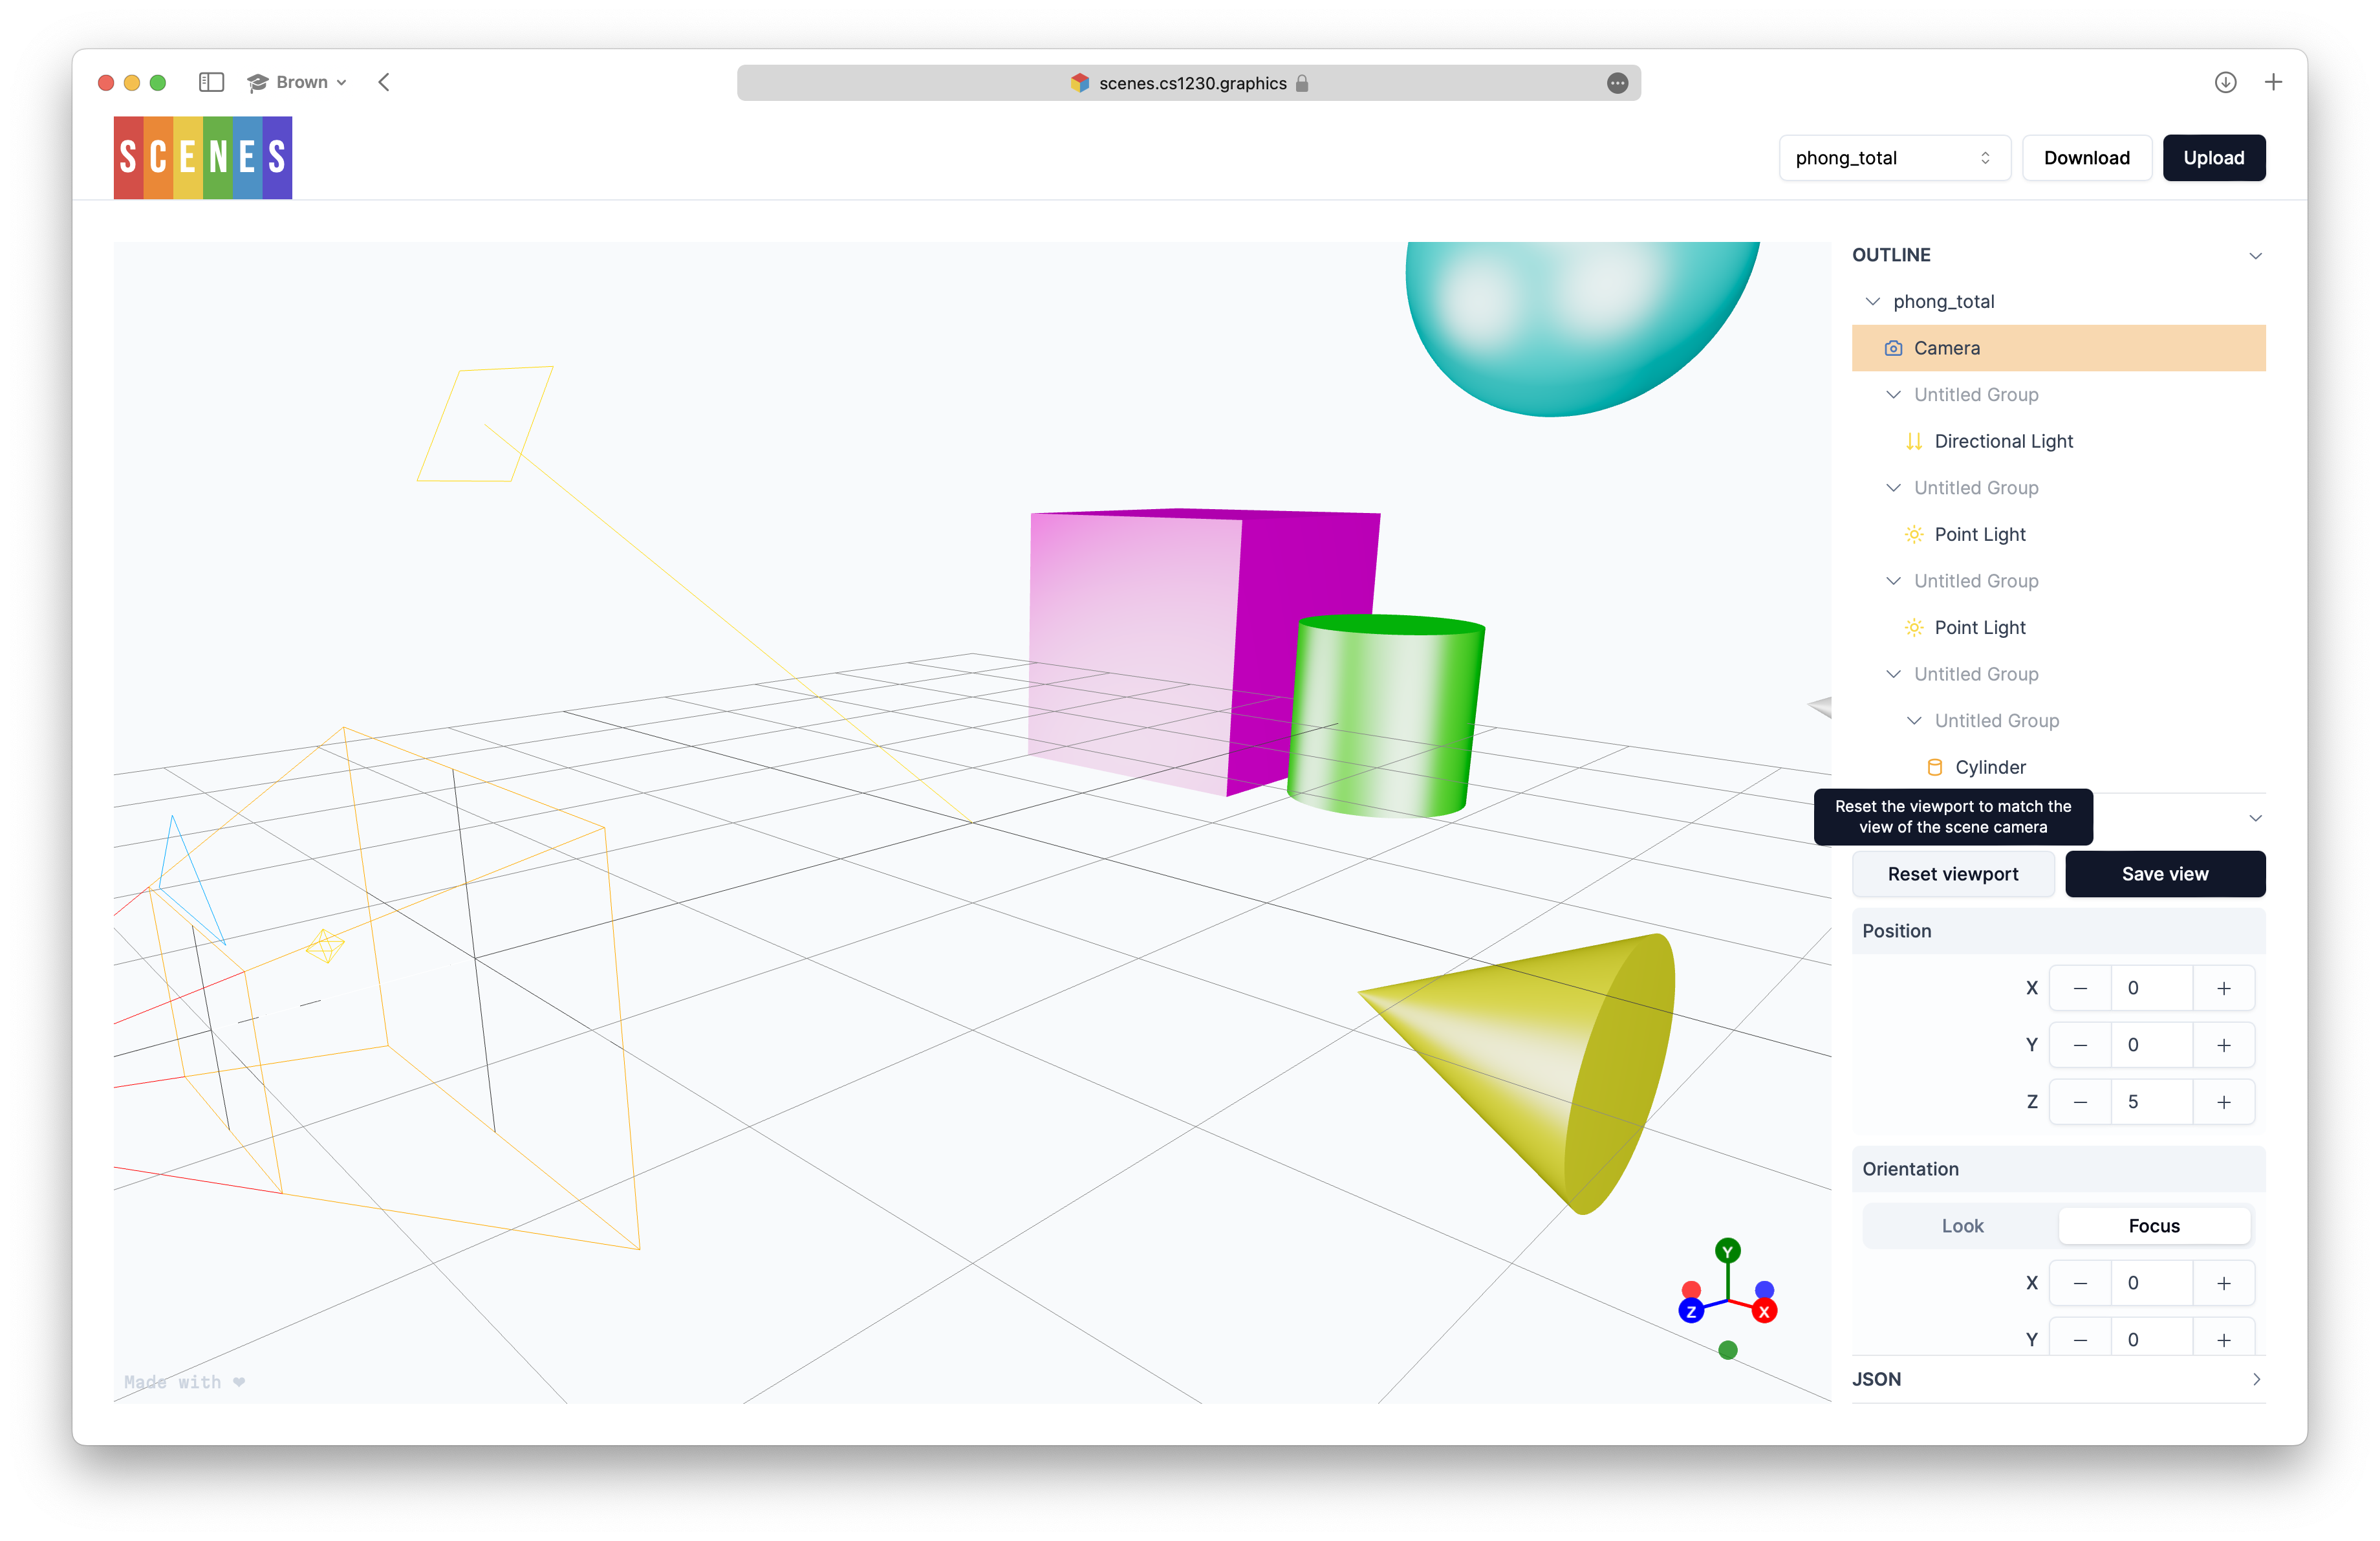
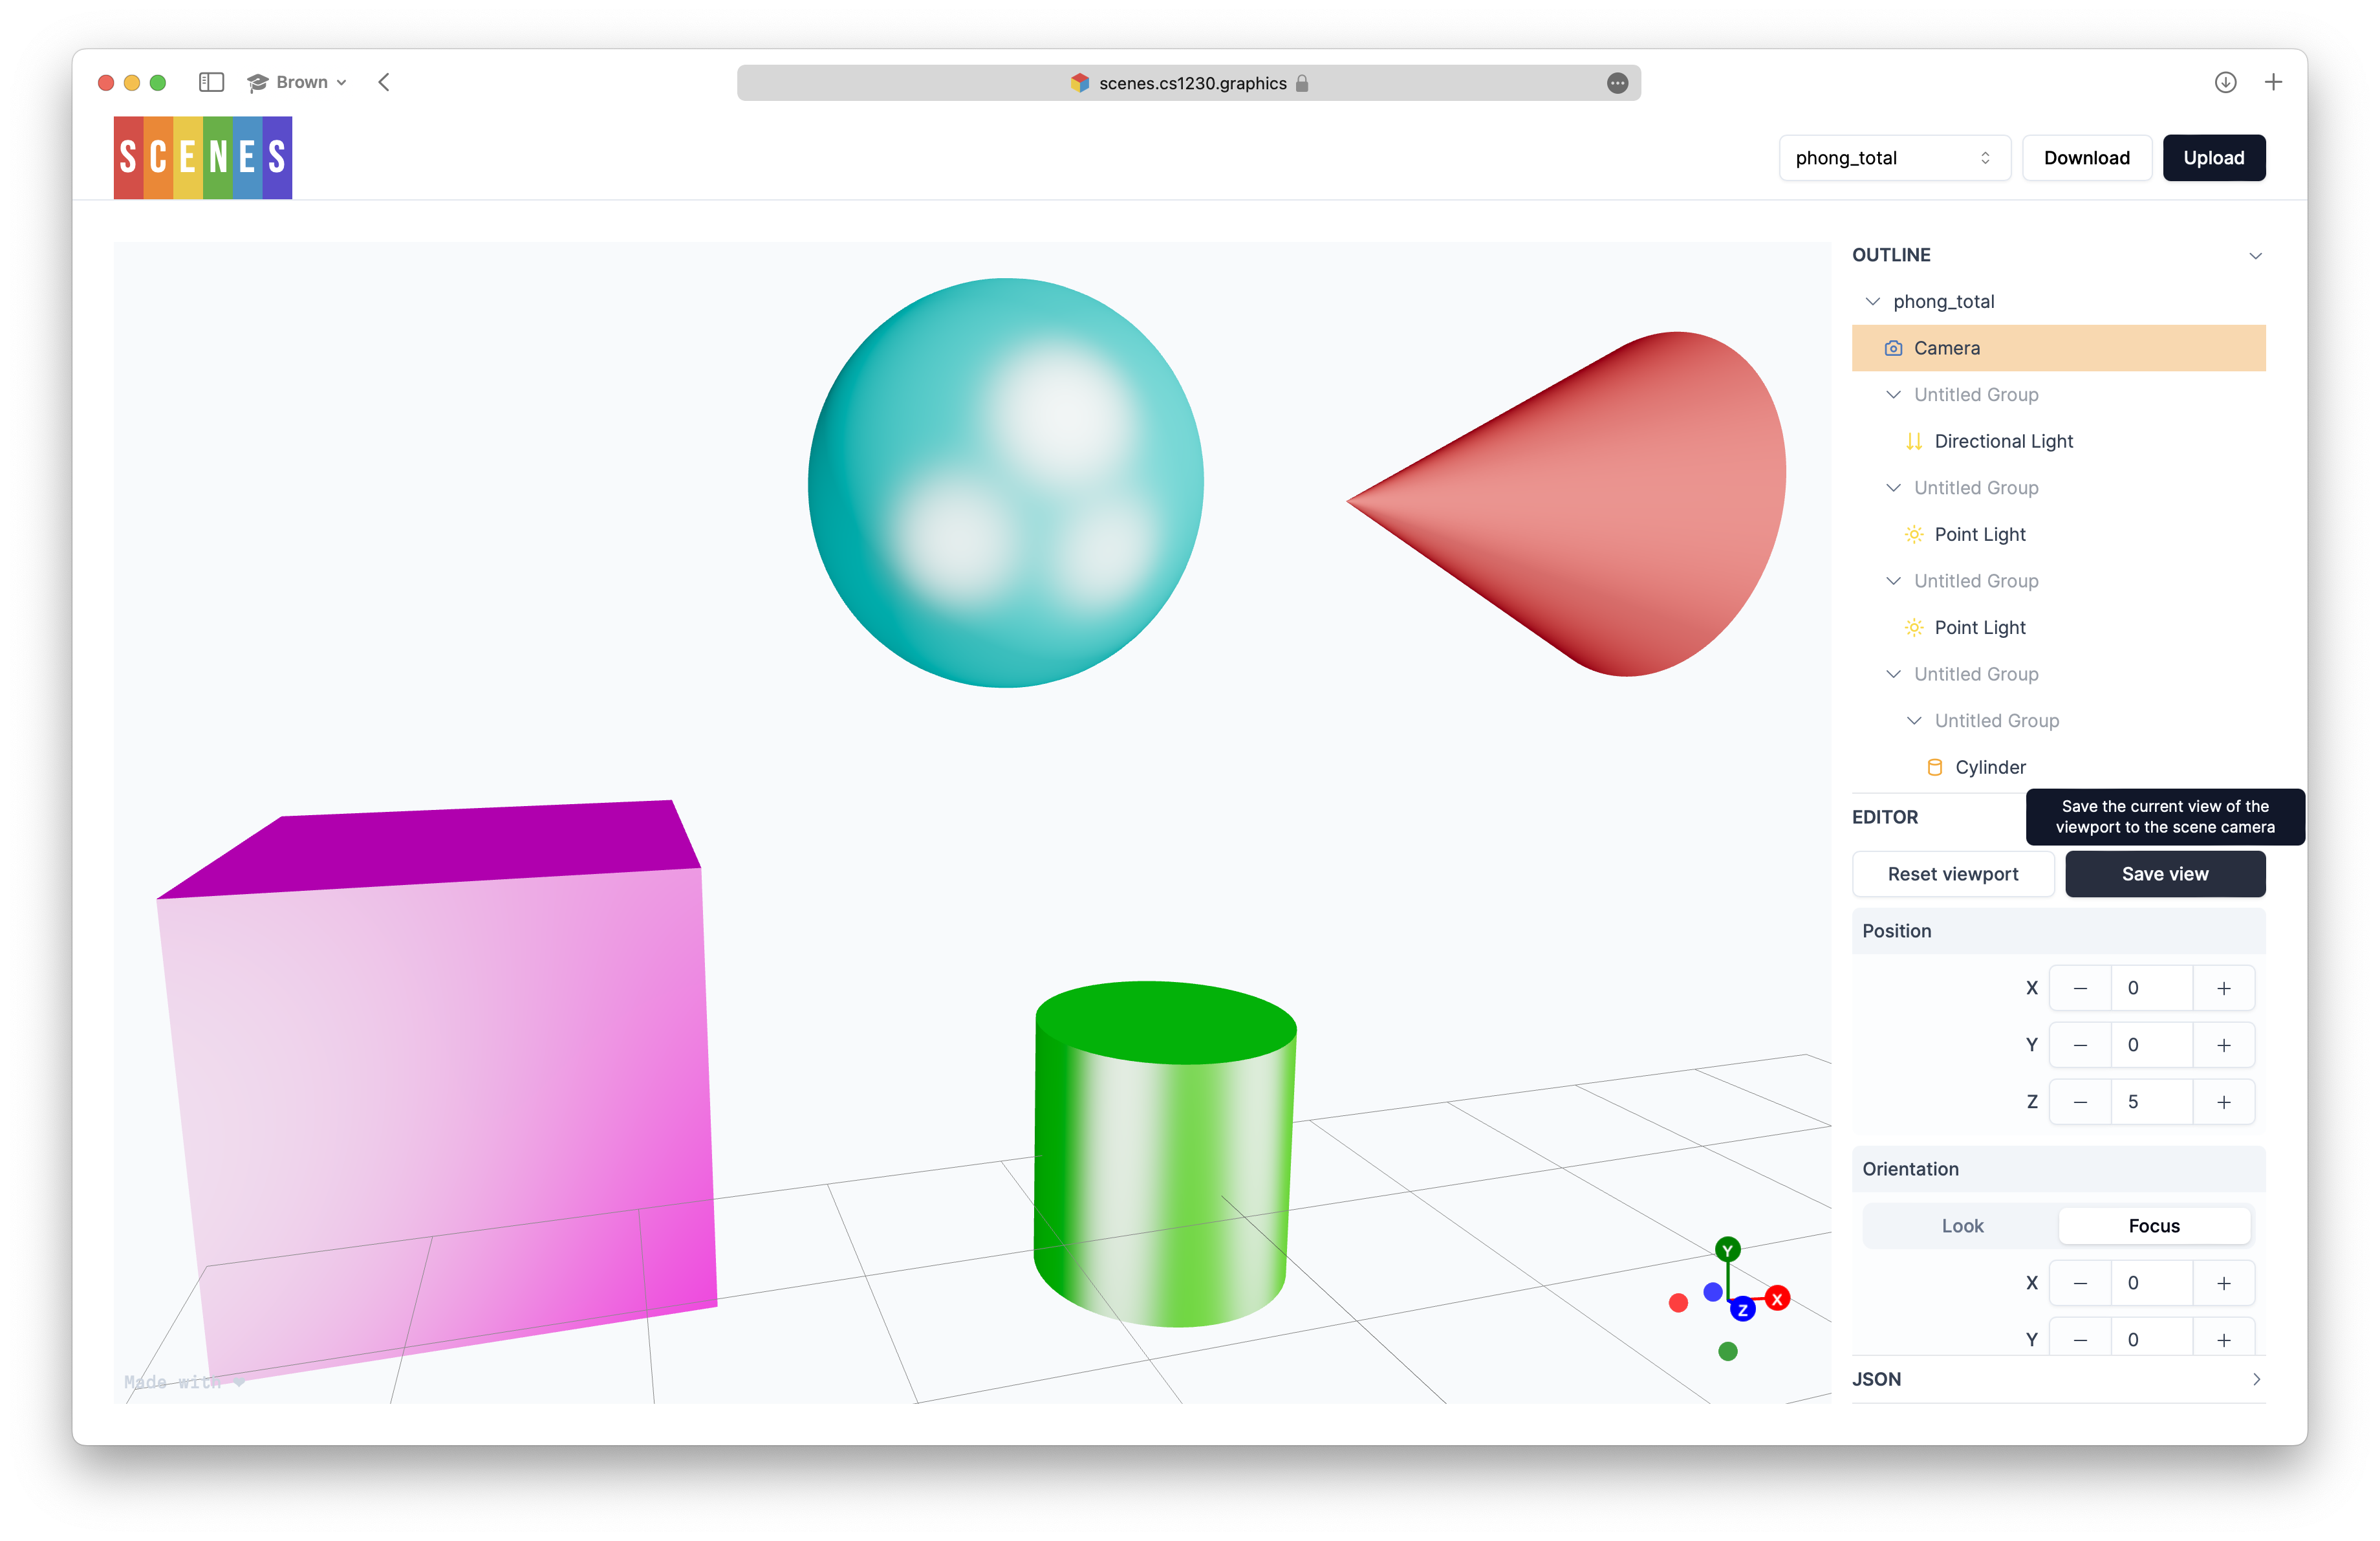
Now, we can see how it will be rendered by selecting the camera in the Editor and clicking "Reset viewport":
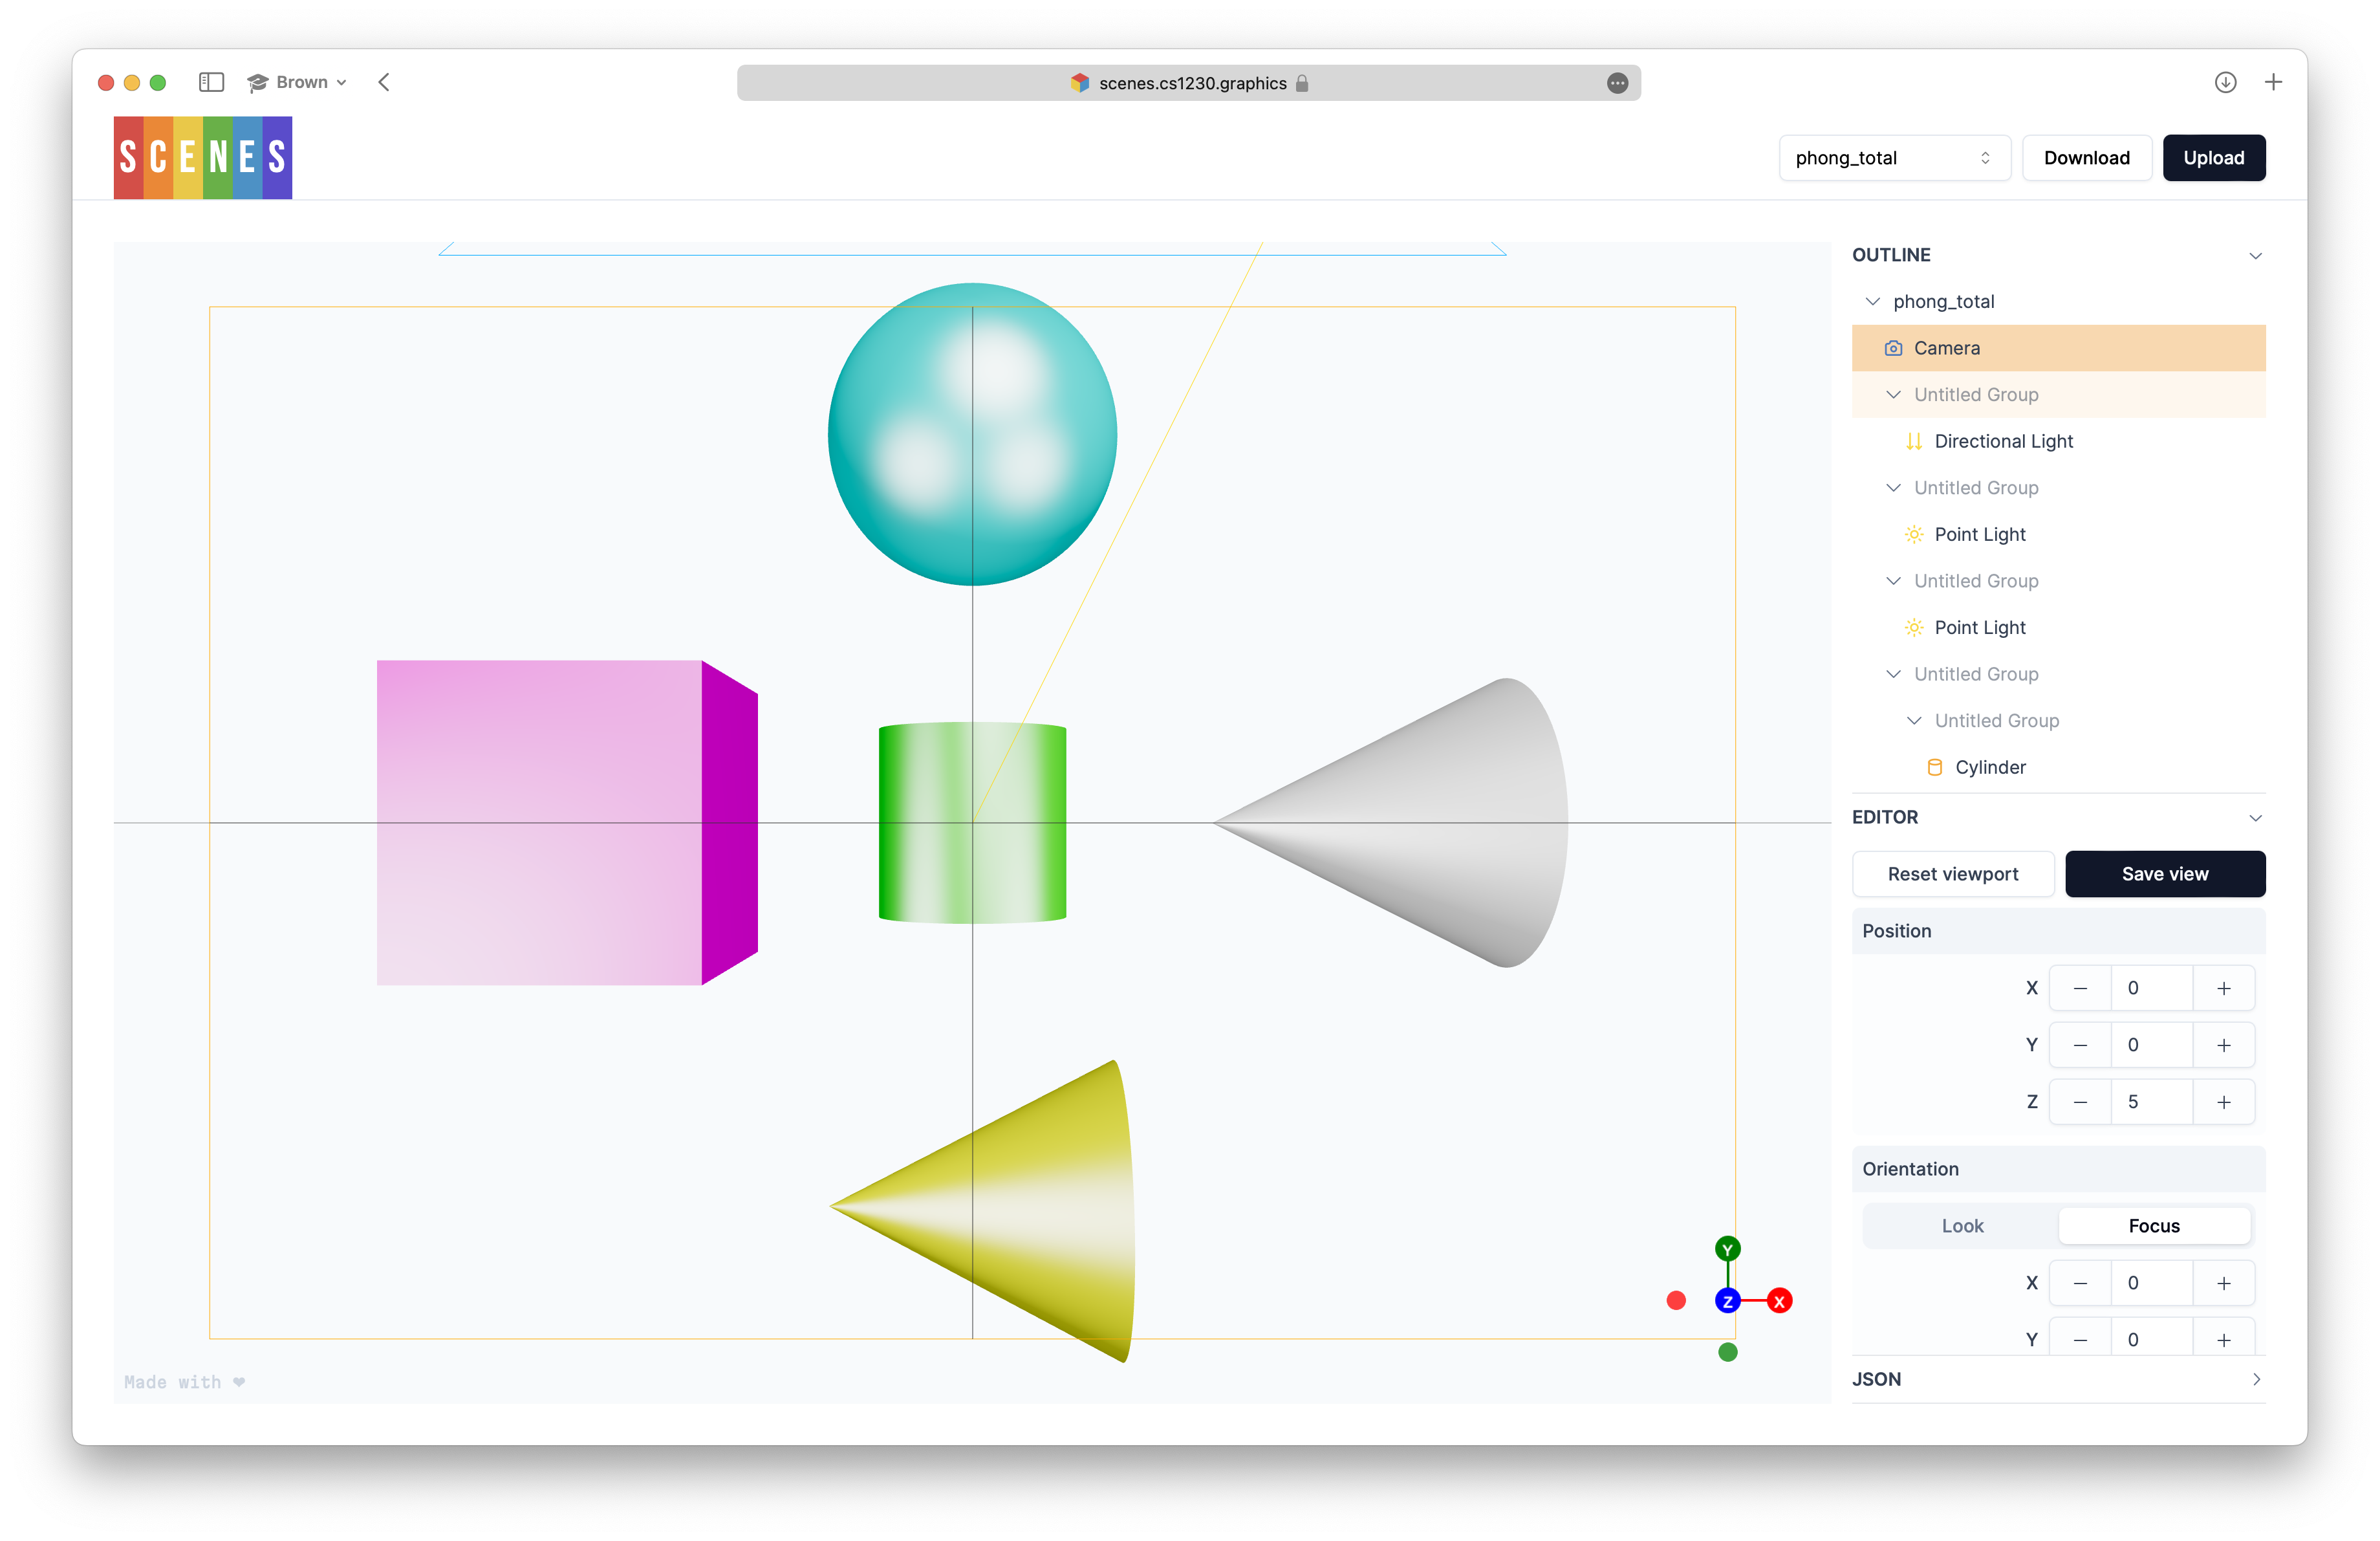
After clicking "Reset viewport", the viewport should now be aligned with the camera's view. We can now see the scene as it will be rendered:
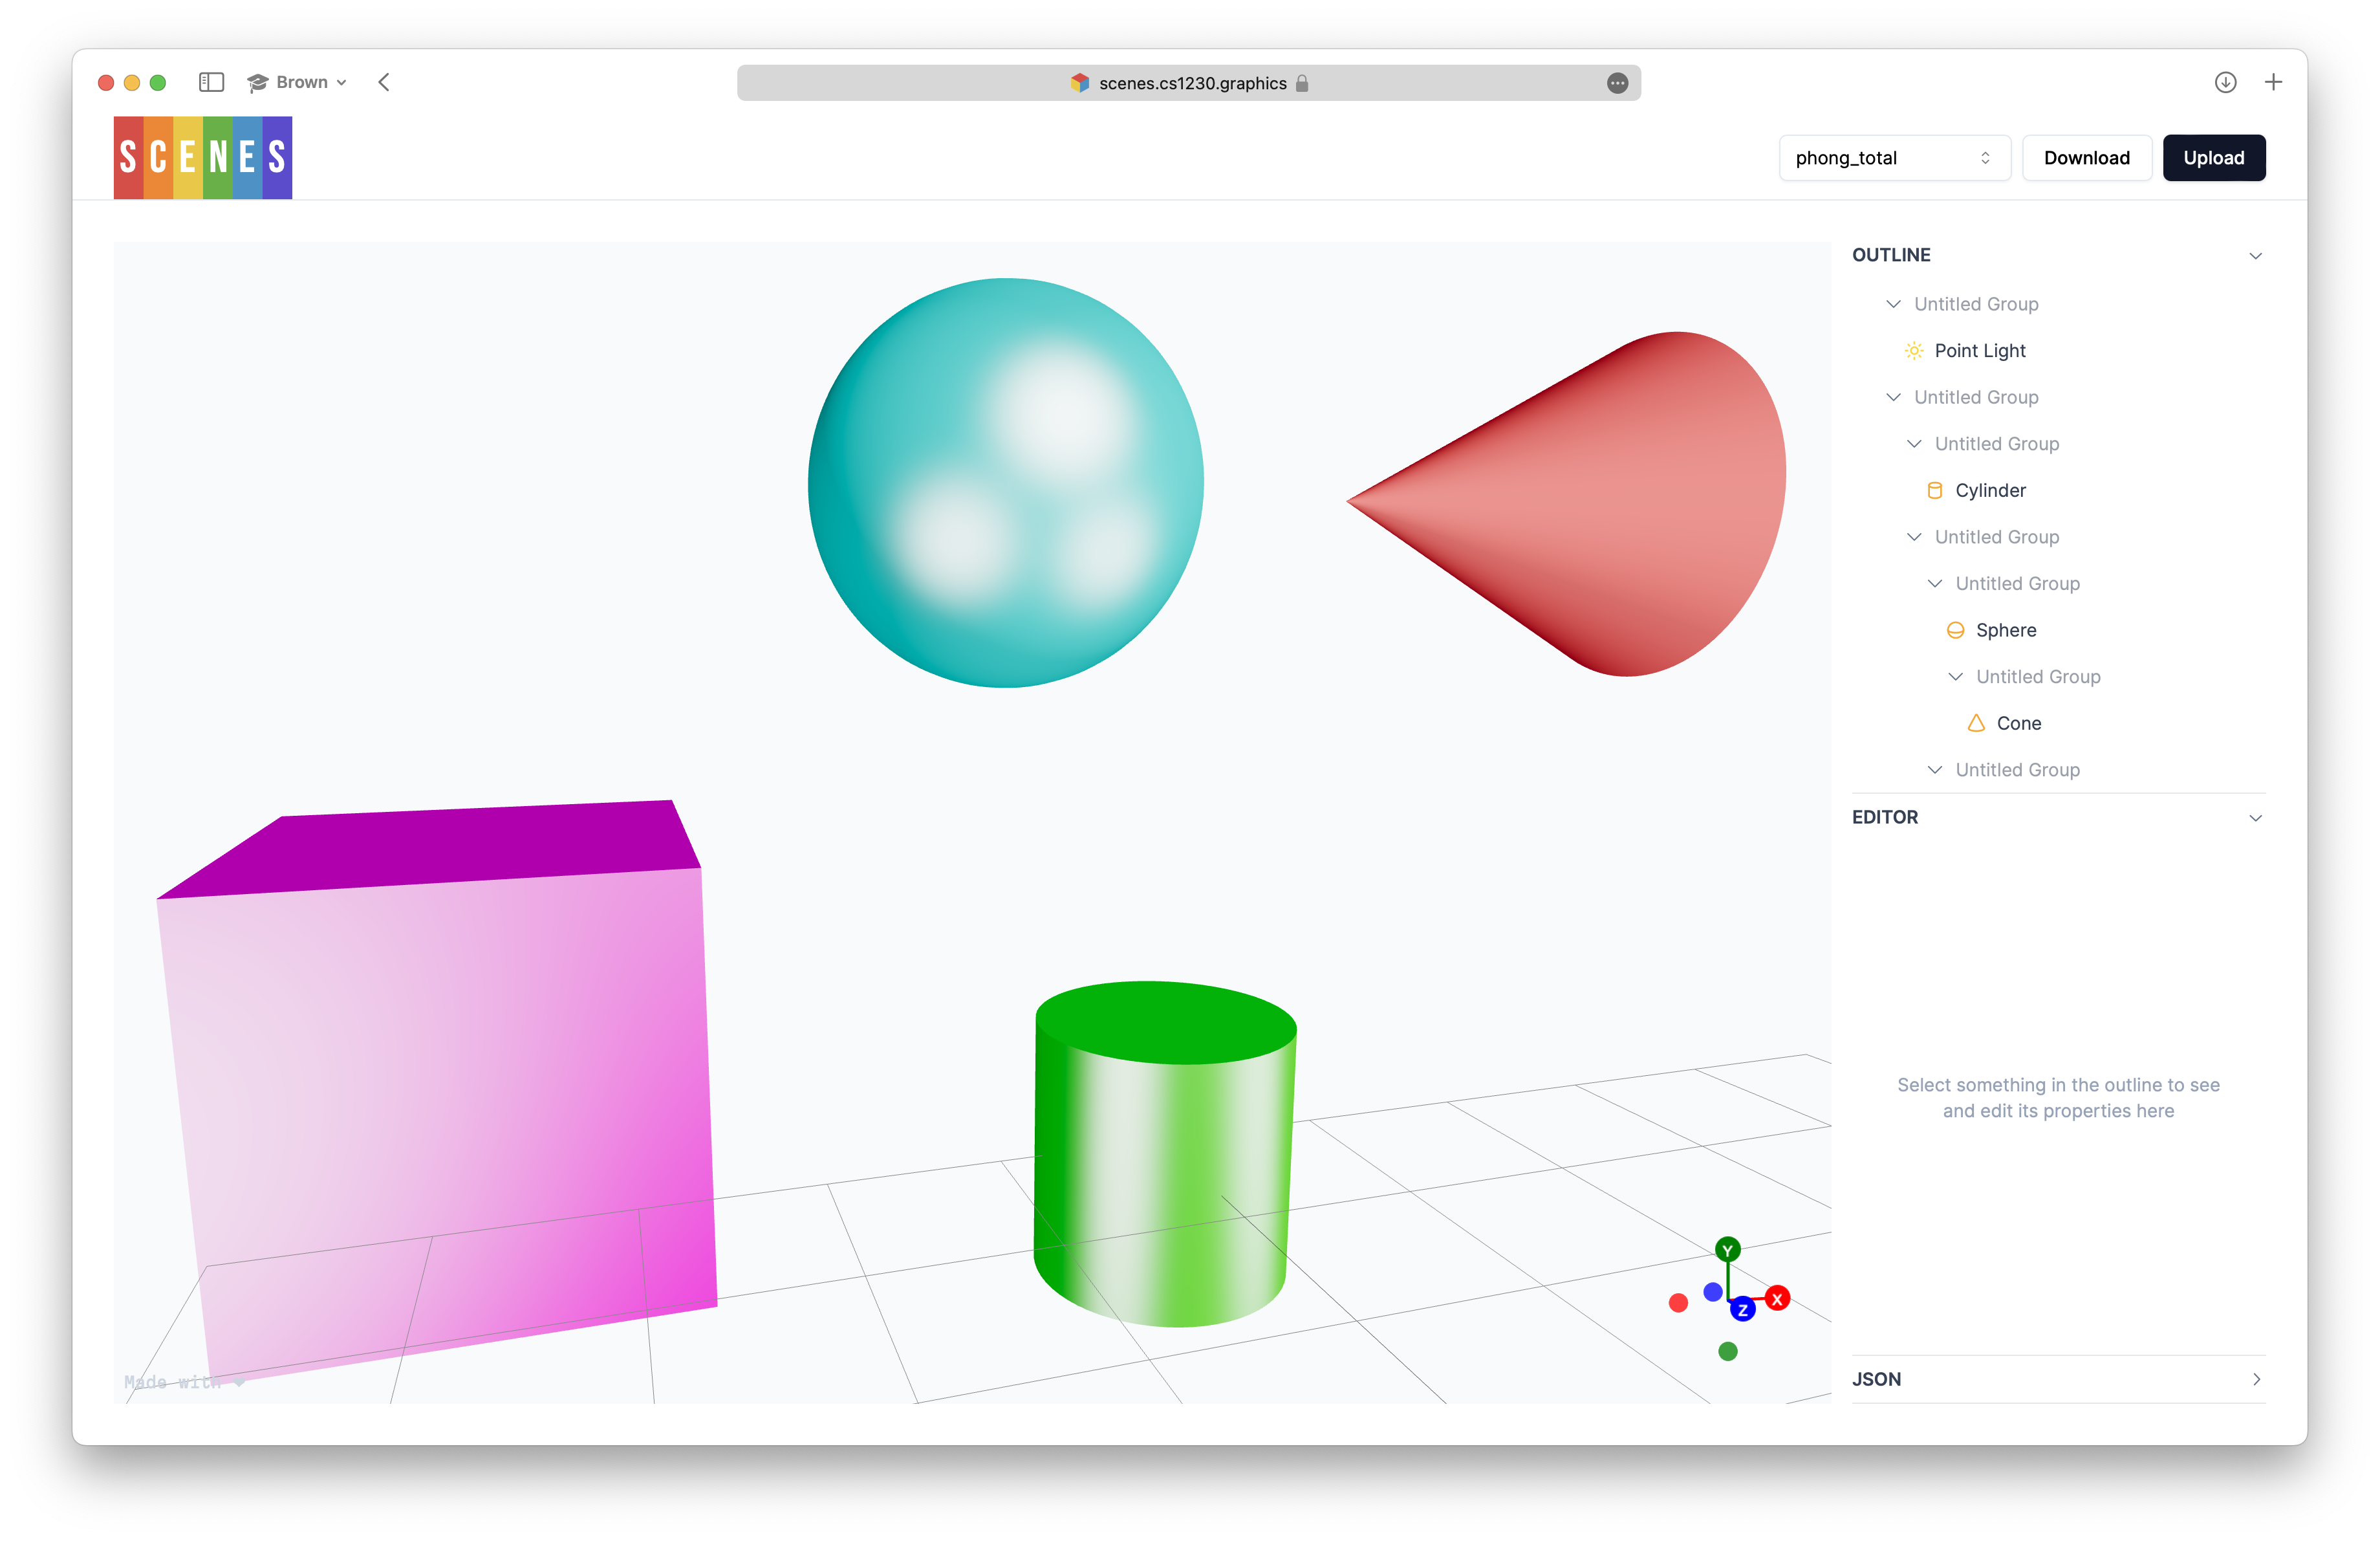
From here, let's delete all the cones in the scene. We can do this by selecting each group containing a cone in the outline and clicking the trash icon:
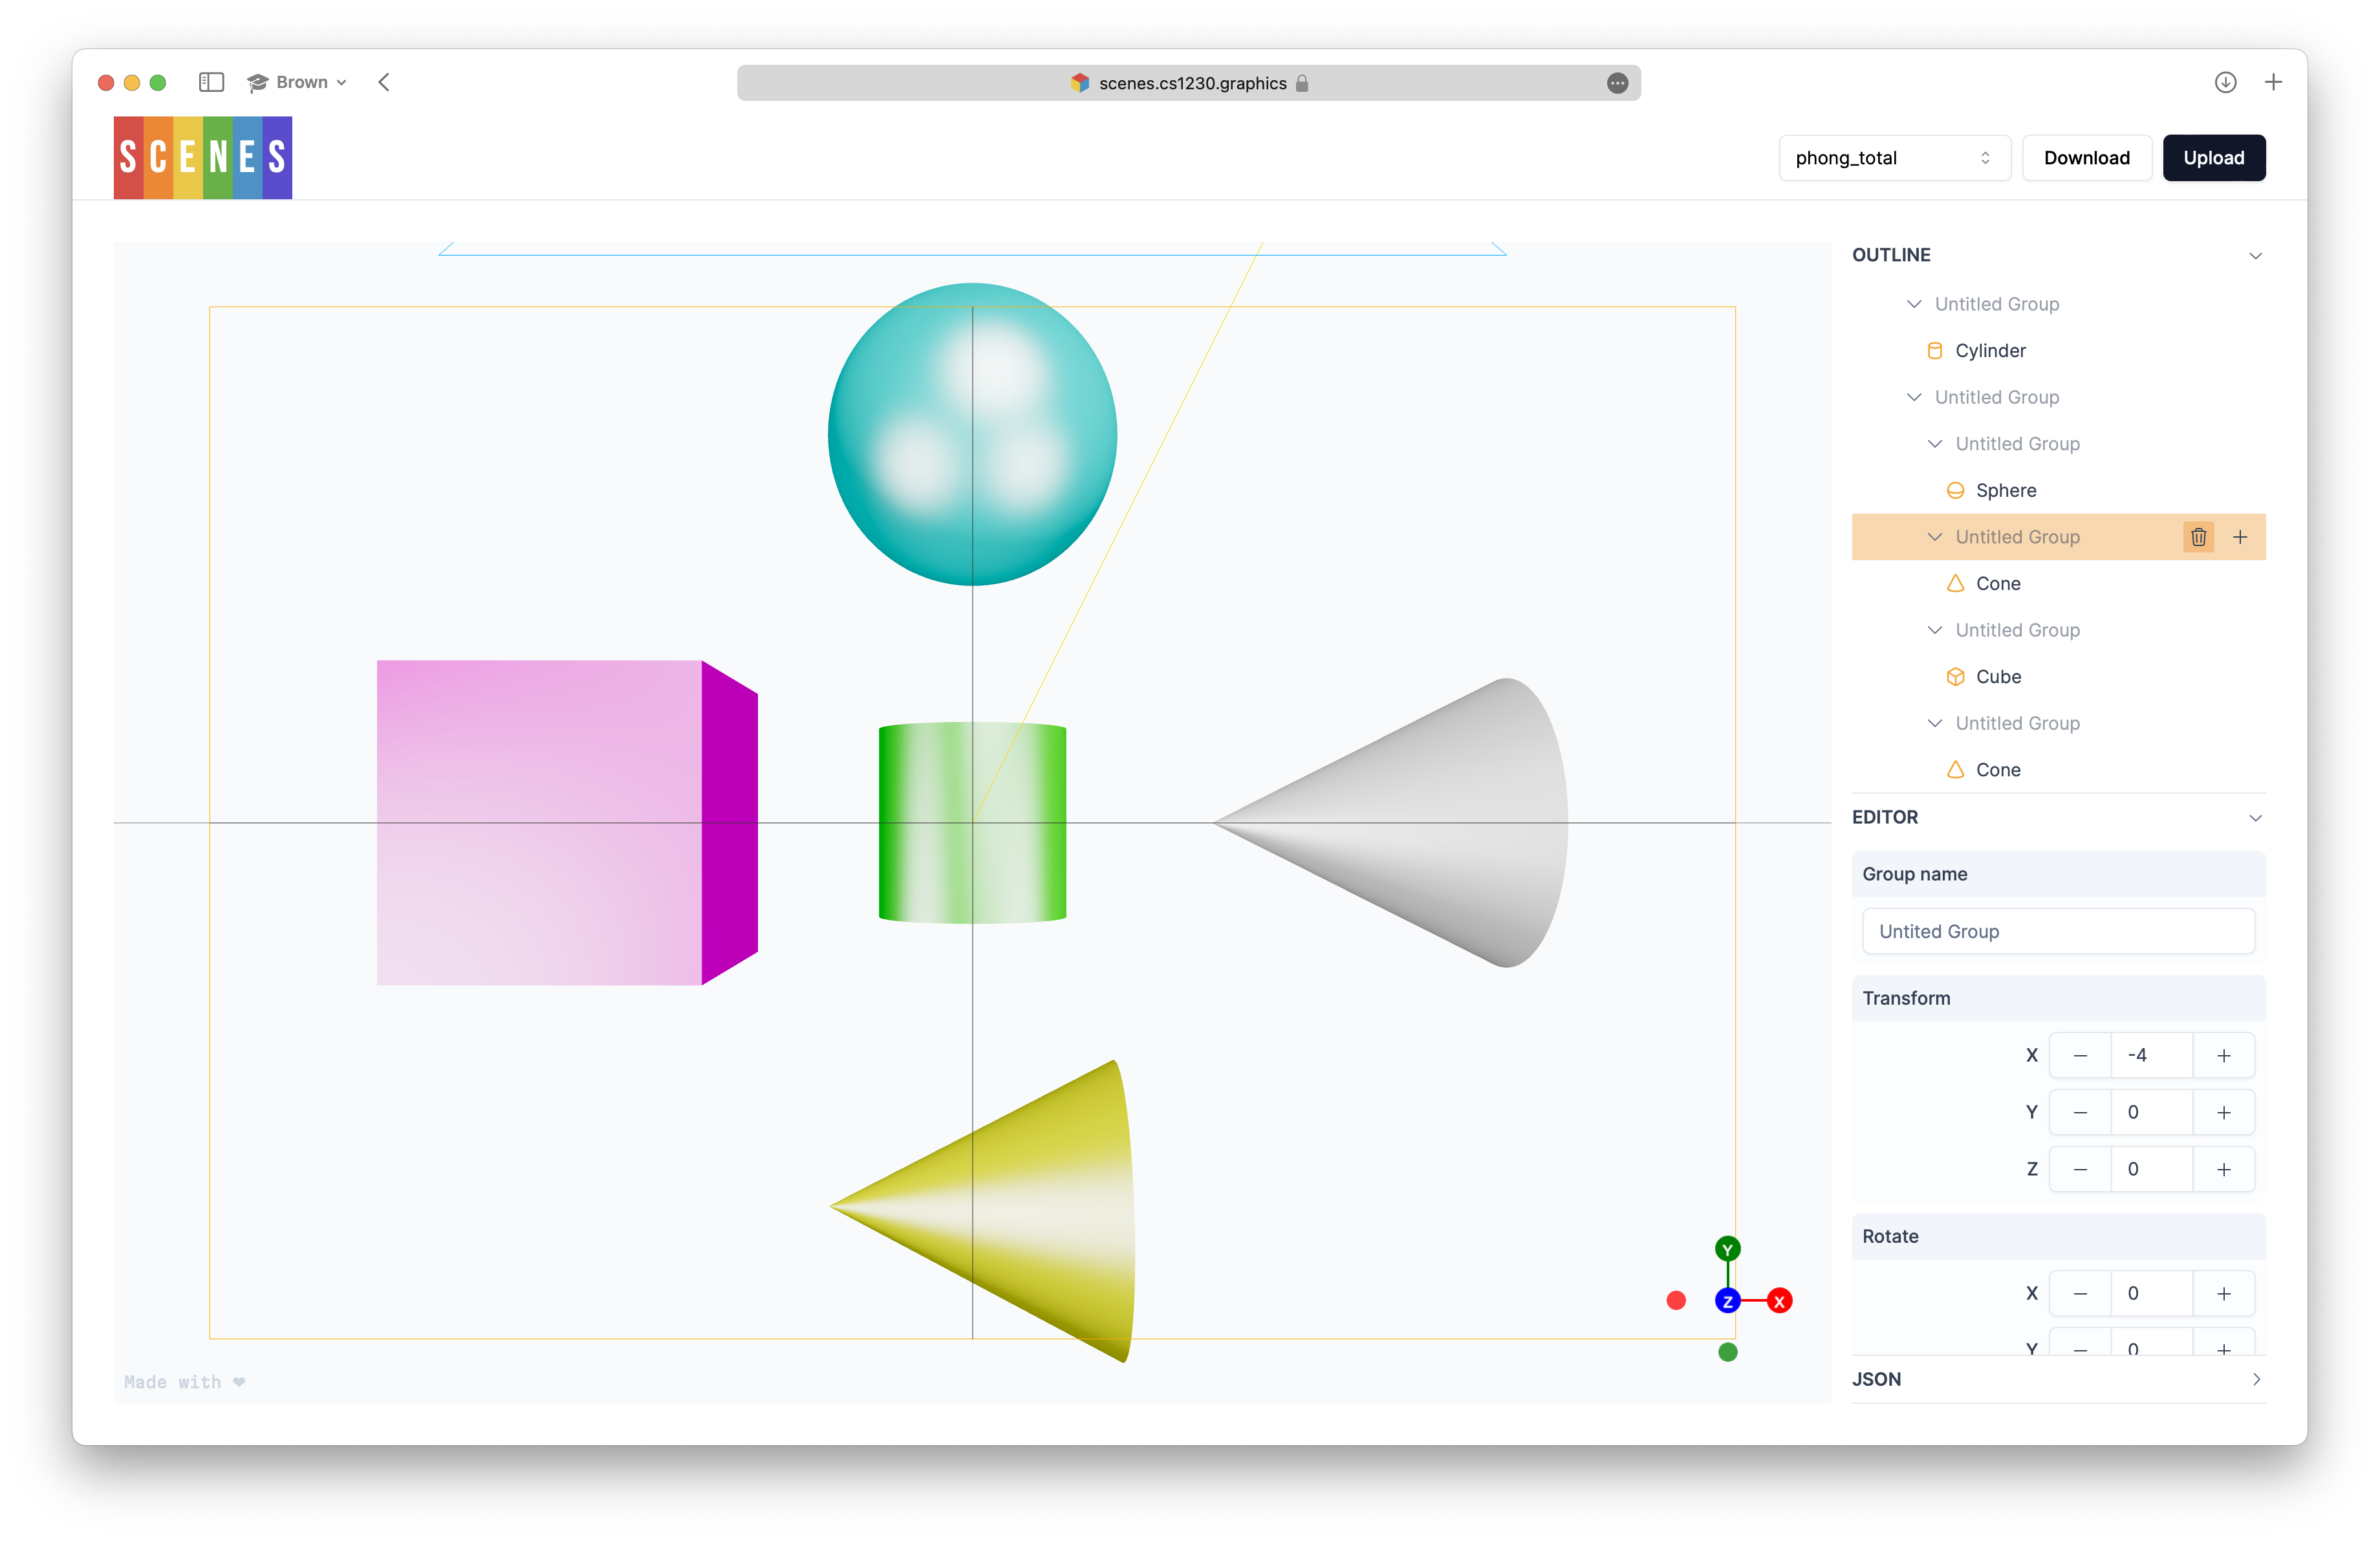
After deleting all the cones, we should now see:
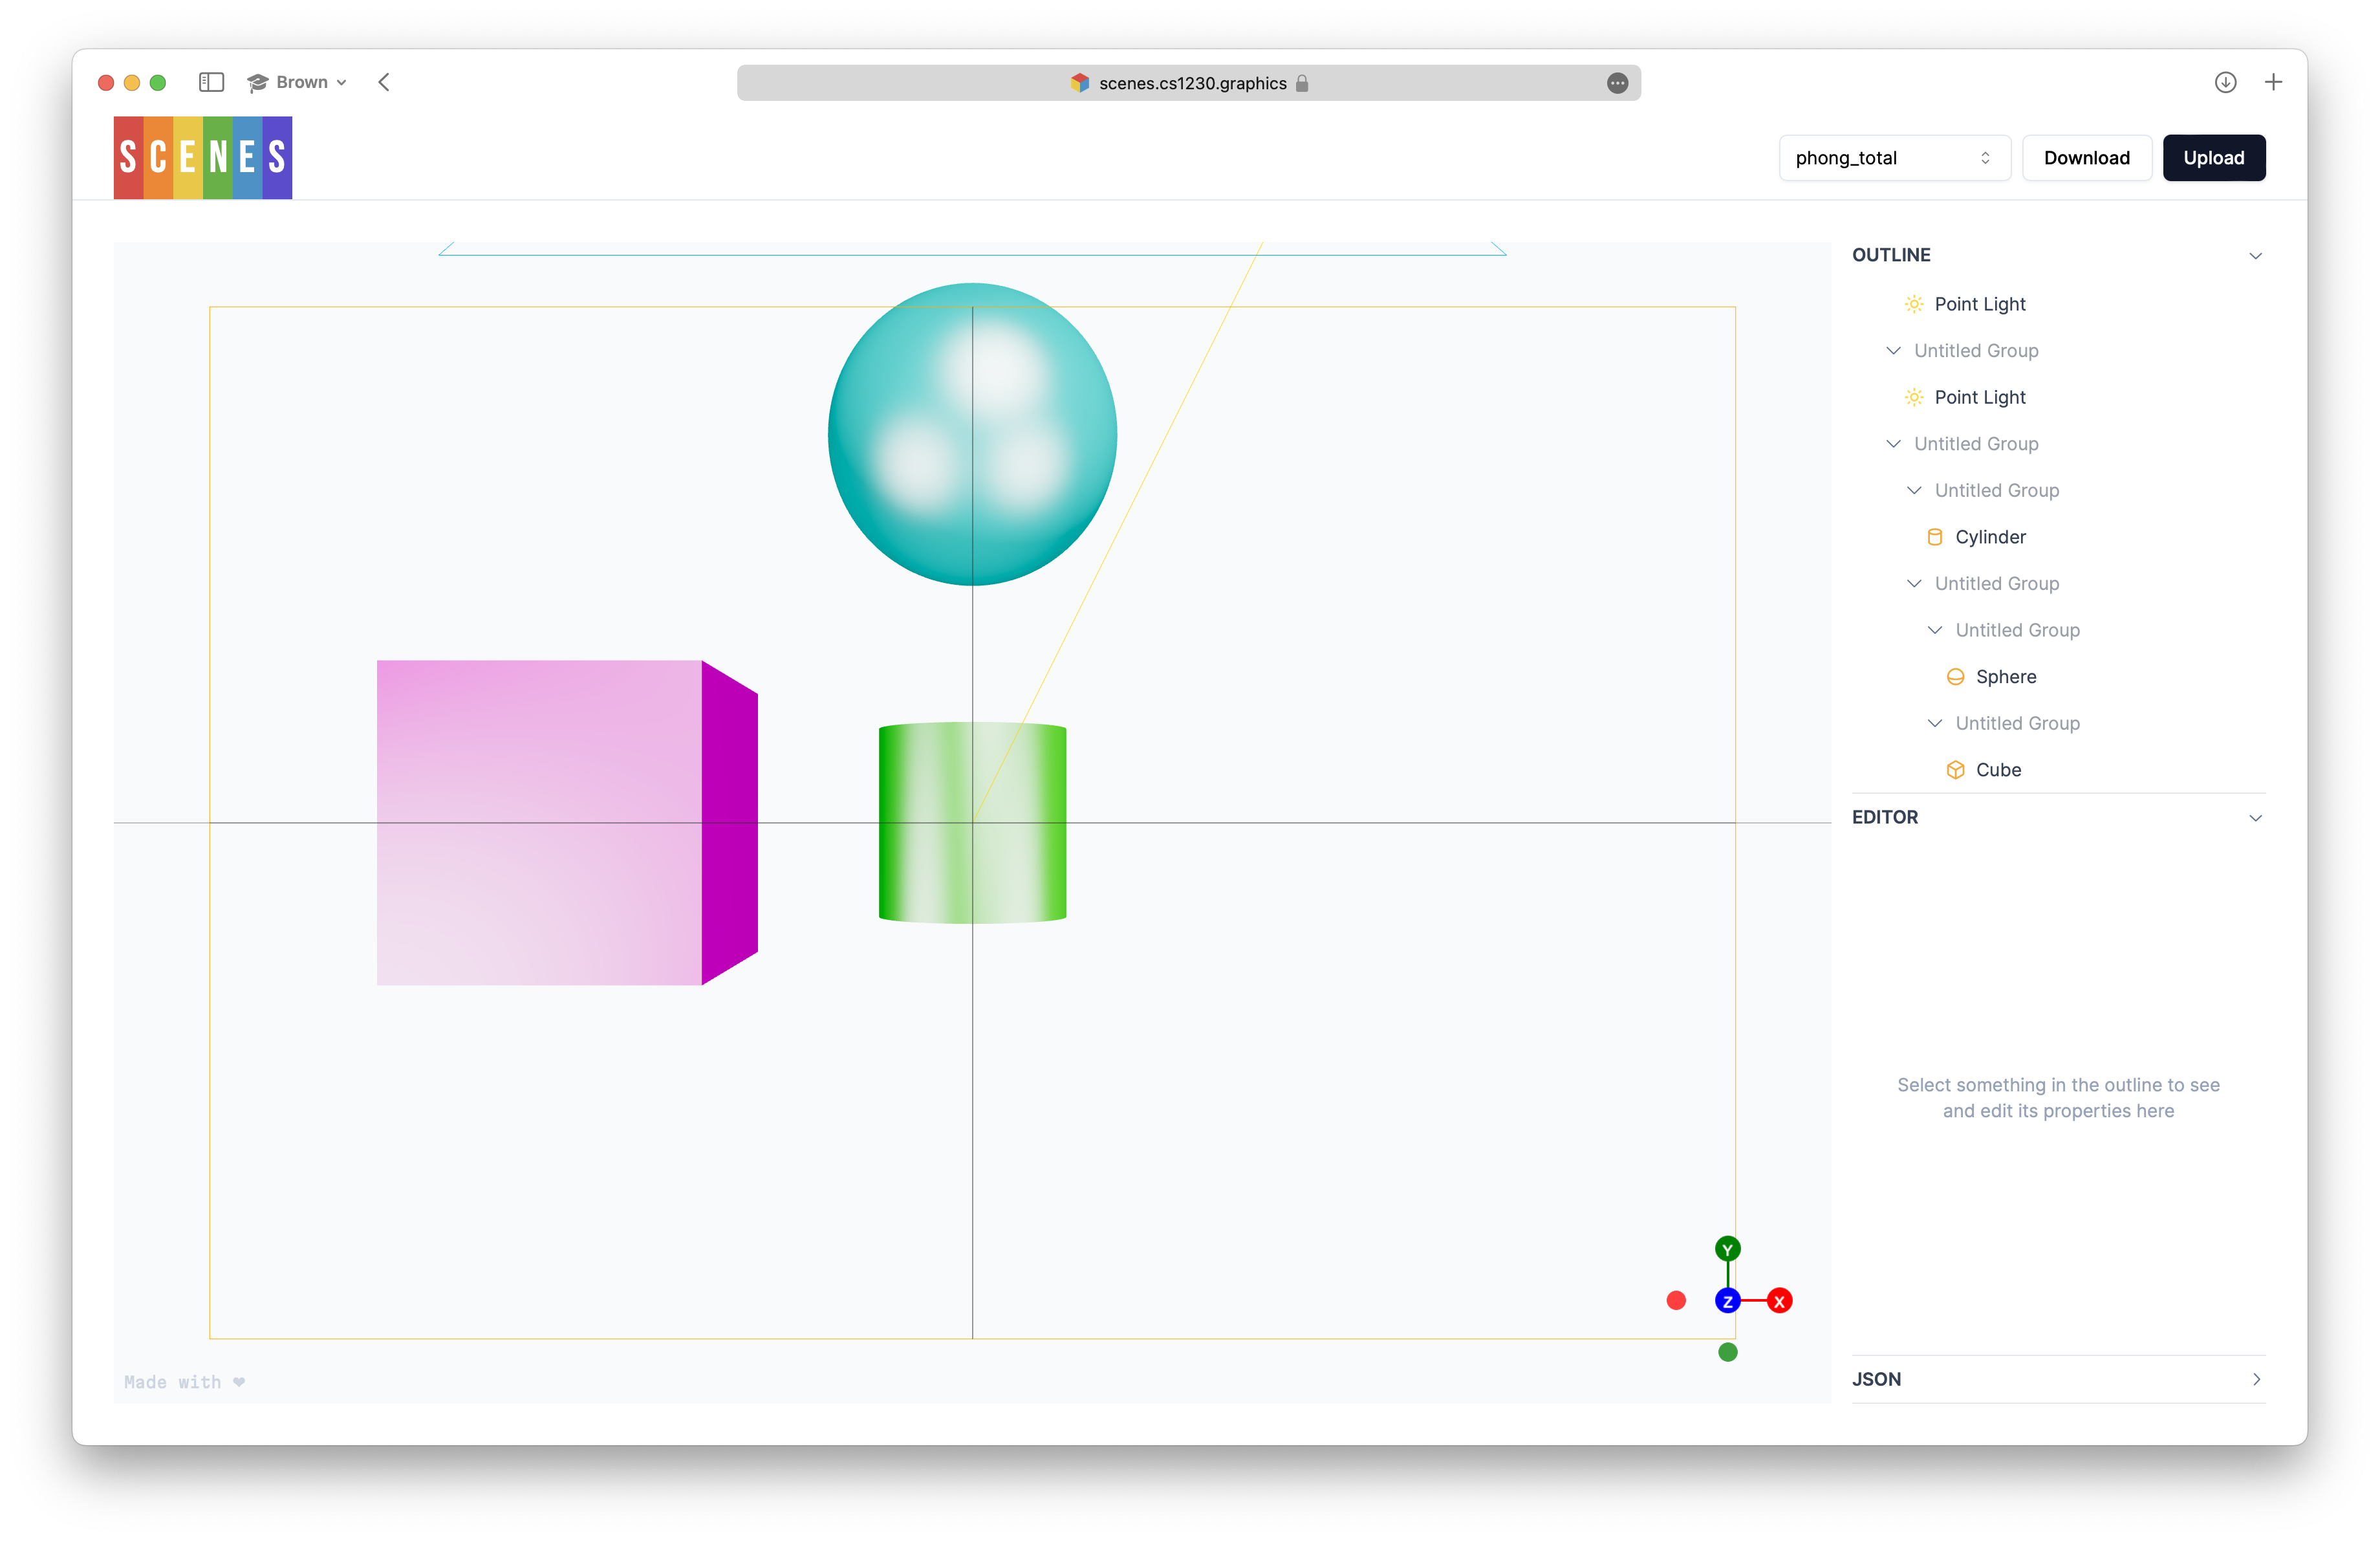
Now, lets make a new cone, and lets place it to the left of the sphere. There is no correct way to do this, but a useful trick is to make this group a child of the group which contains the sphere already. This way, we can use the sphere's position as a reference point for the cone. Let's create a new group as a child of the group containing the sphere:

Now there is a new group as a child of sphere, also called "Untitled Group". Click the plus icon for this new group and select Primitive > Cone.
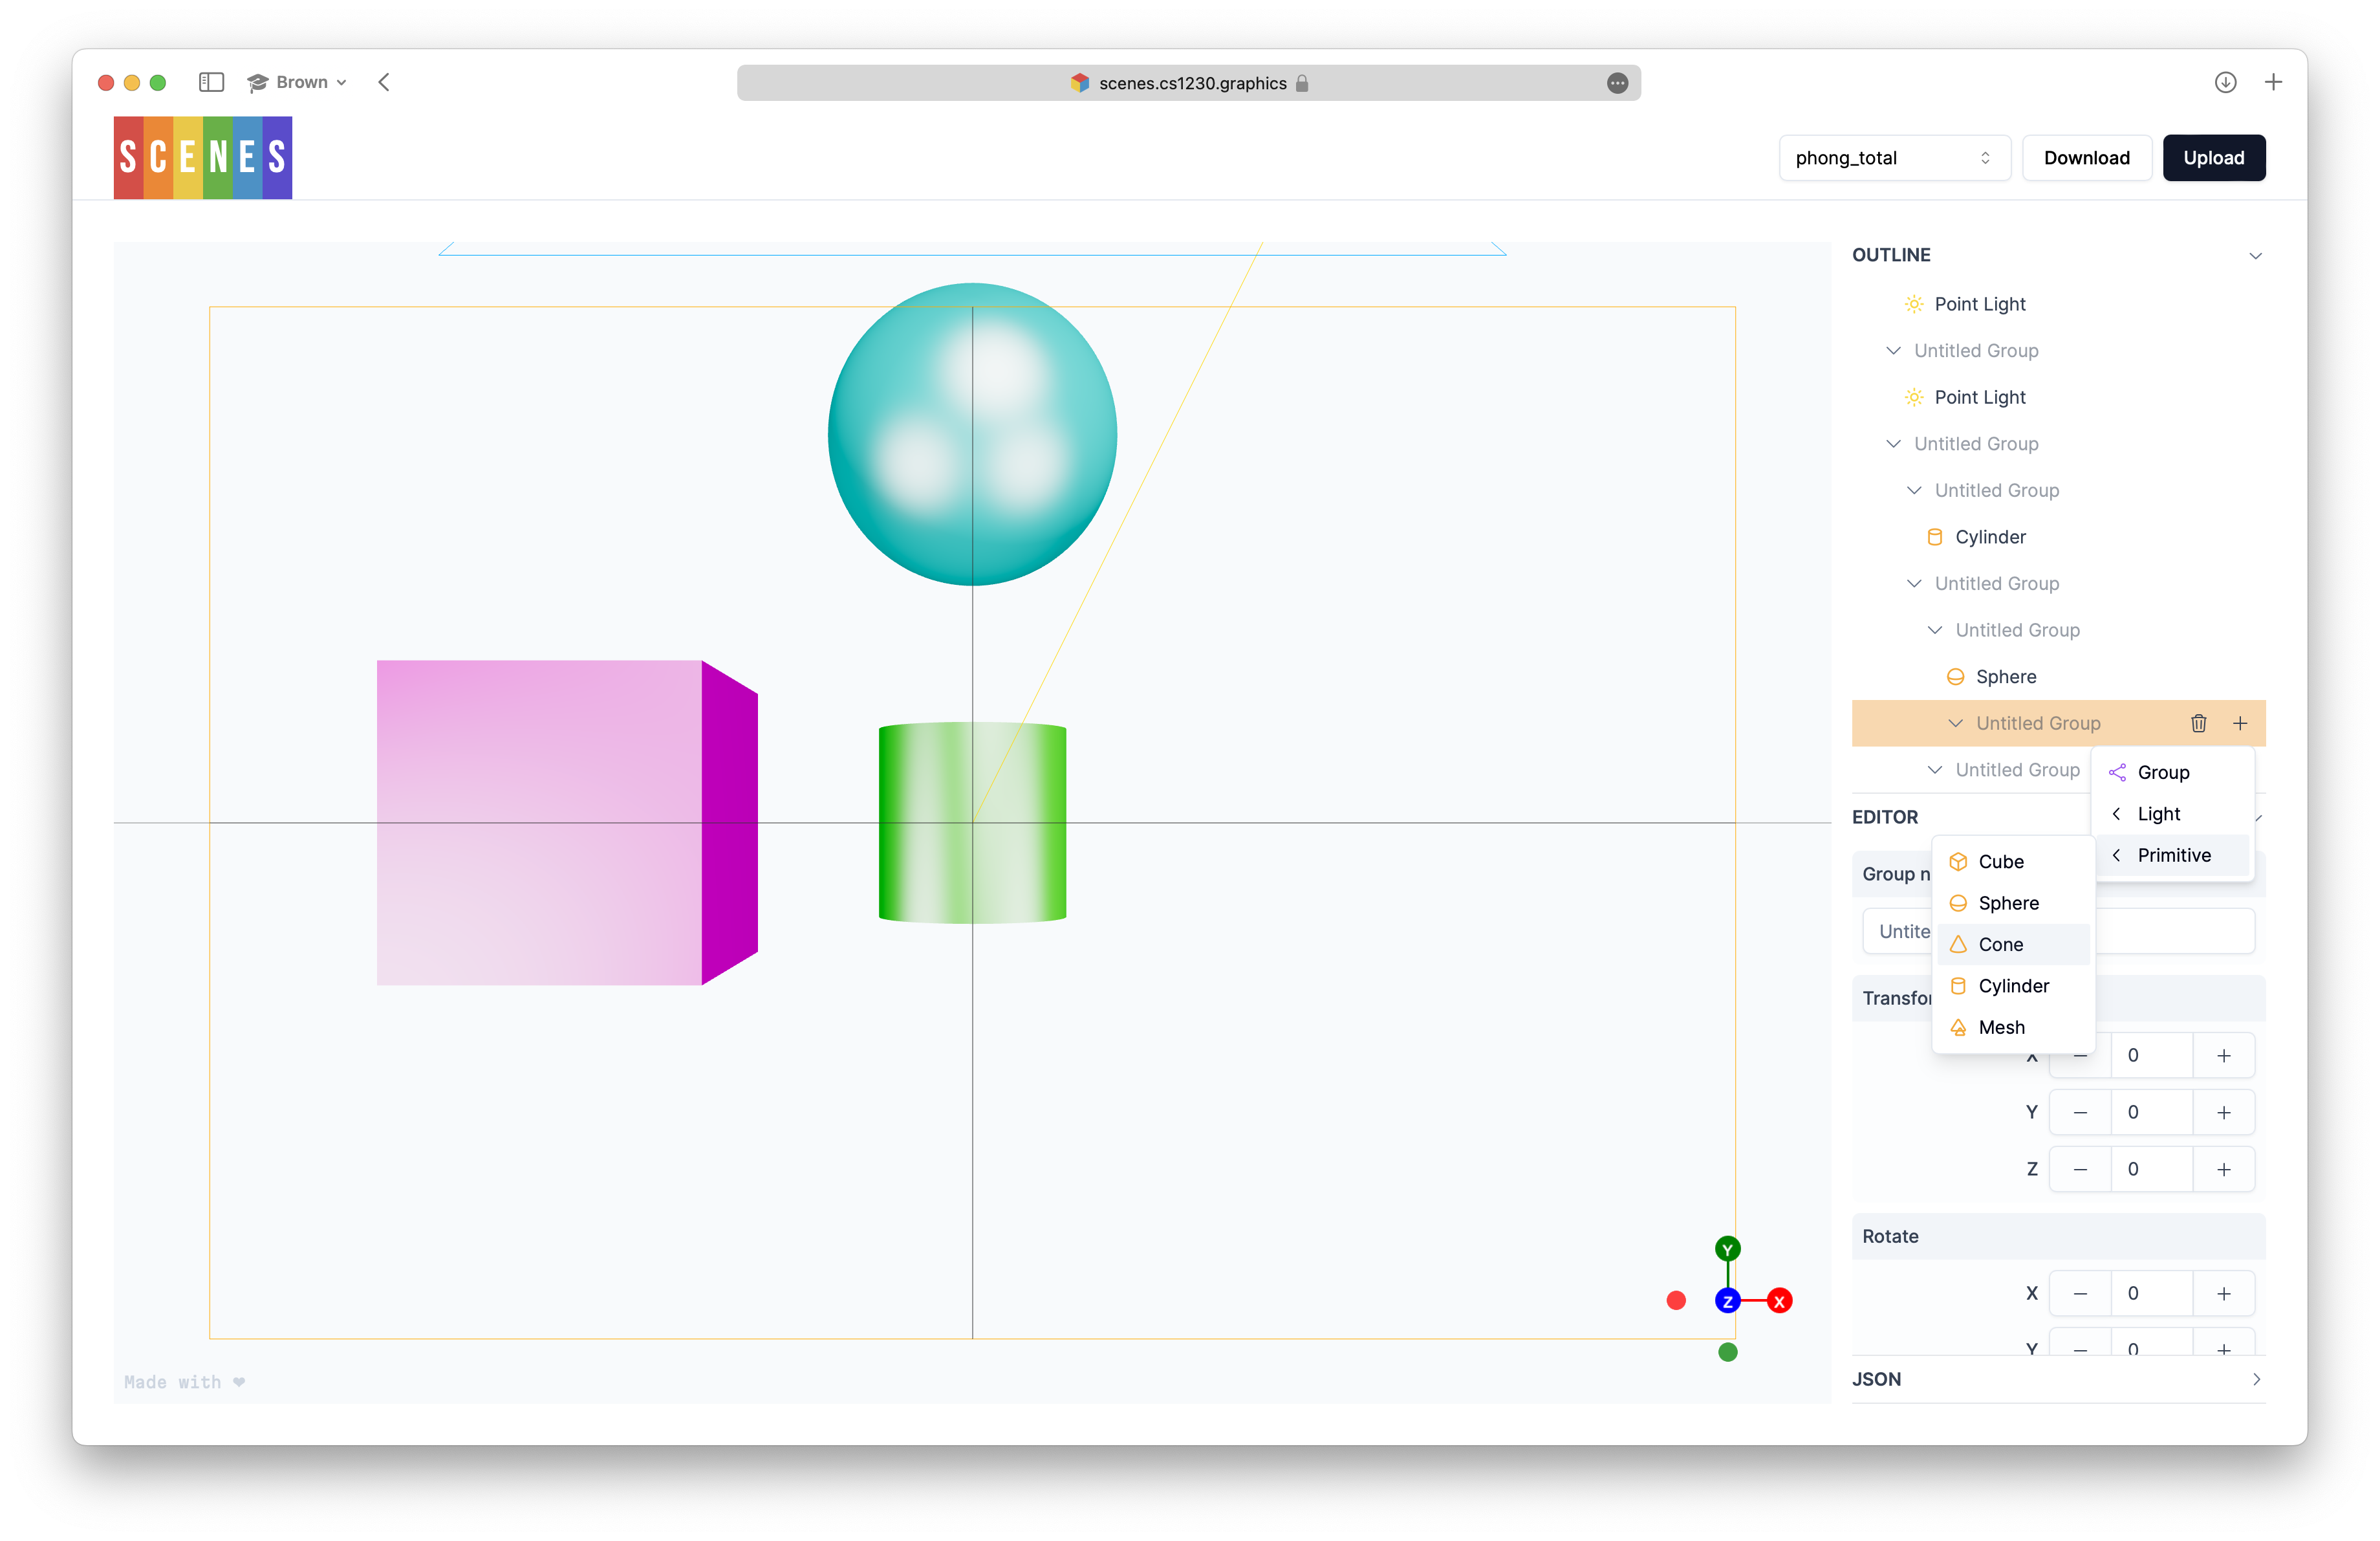
Now we see the new cone appear in the Outline and in the viewport:
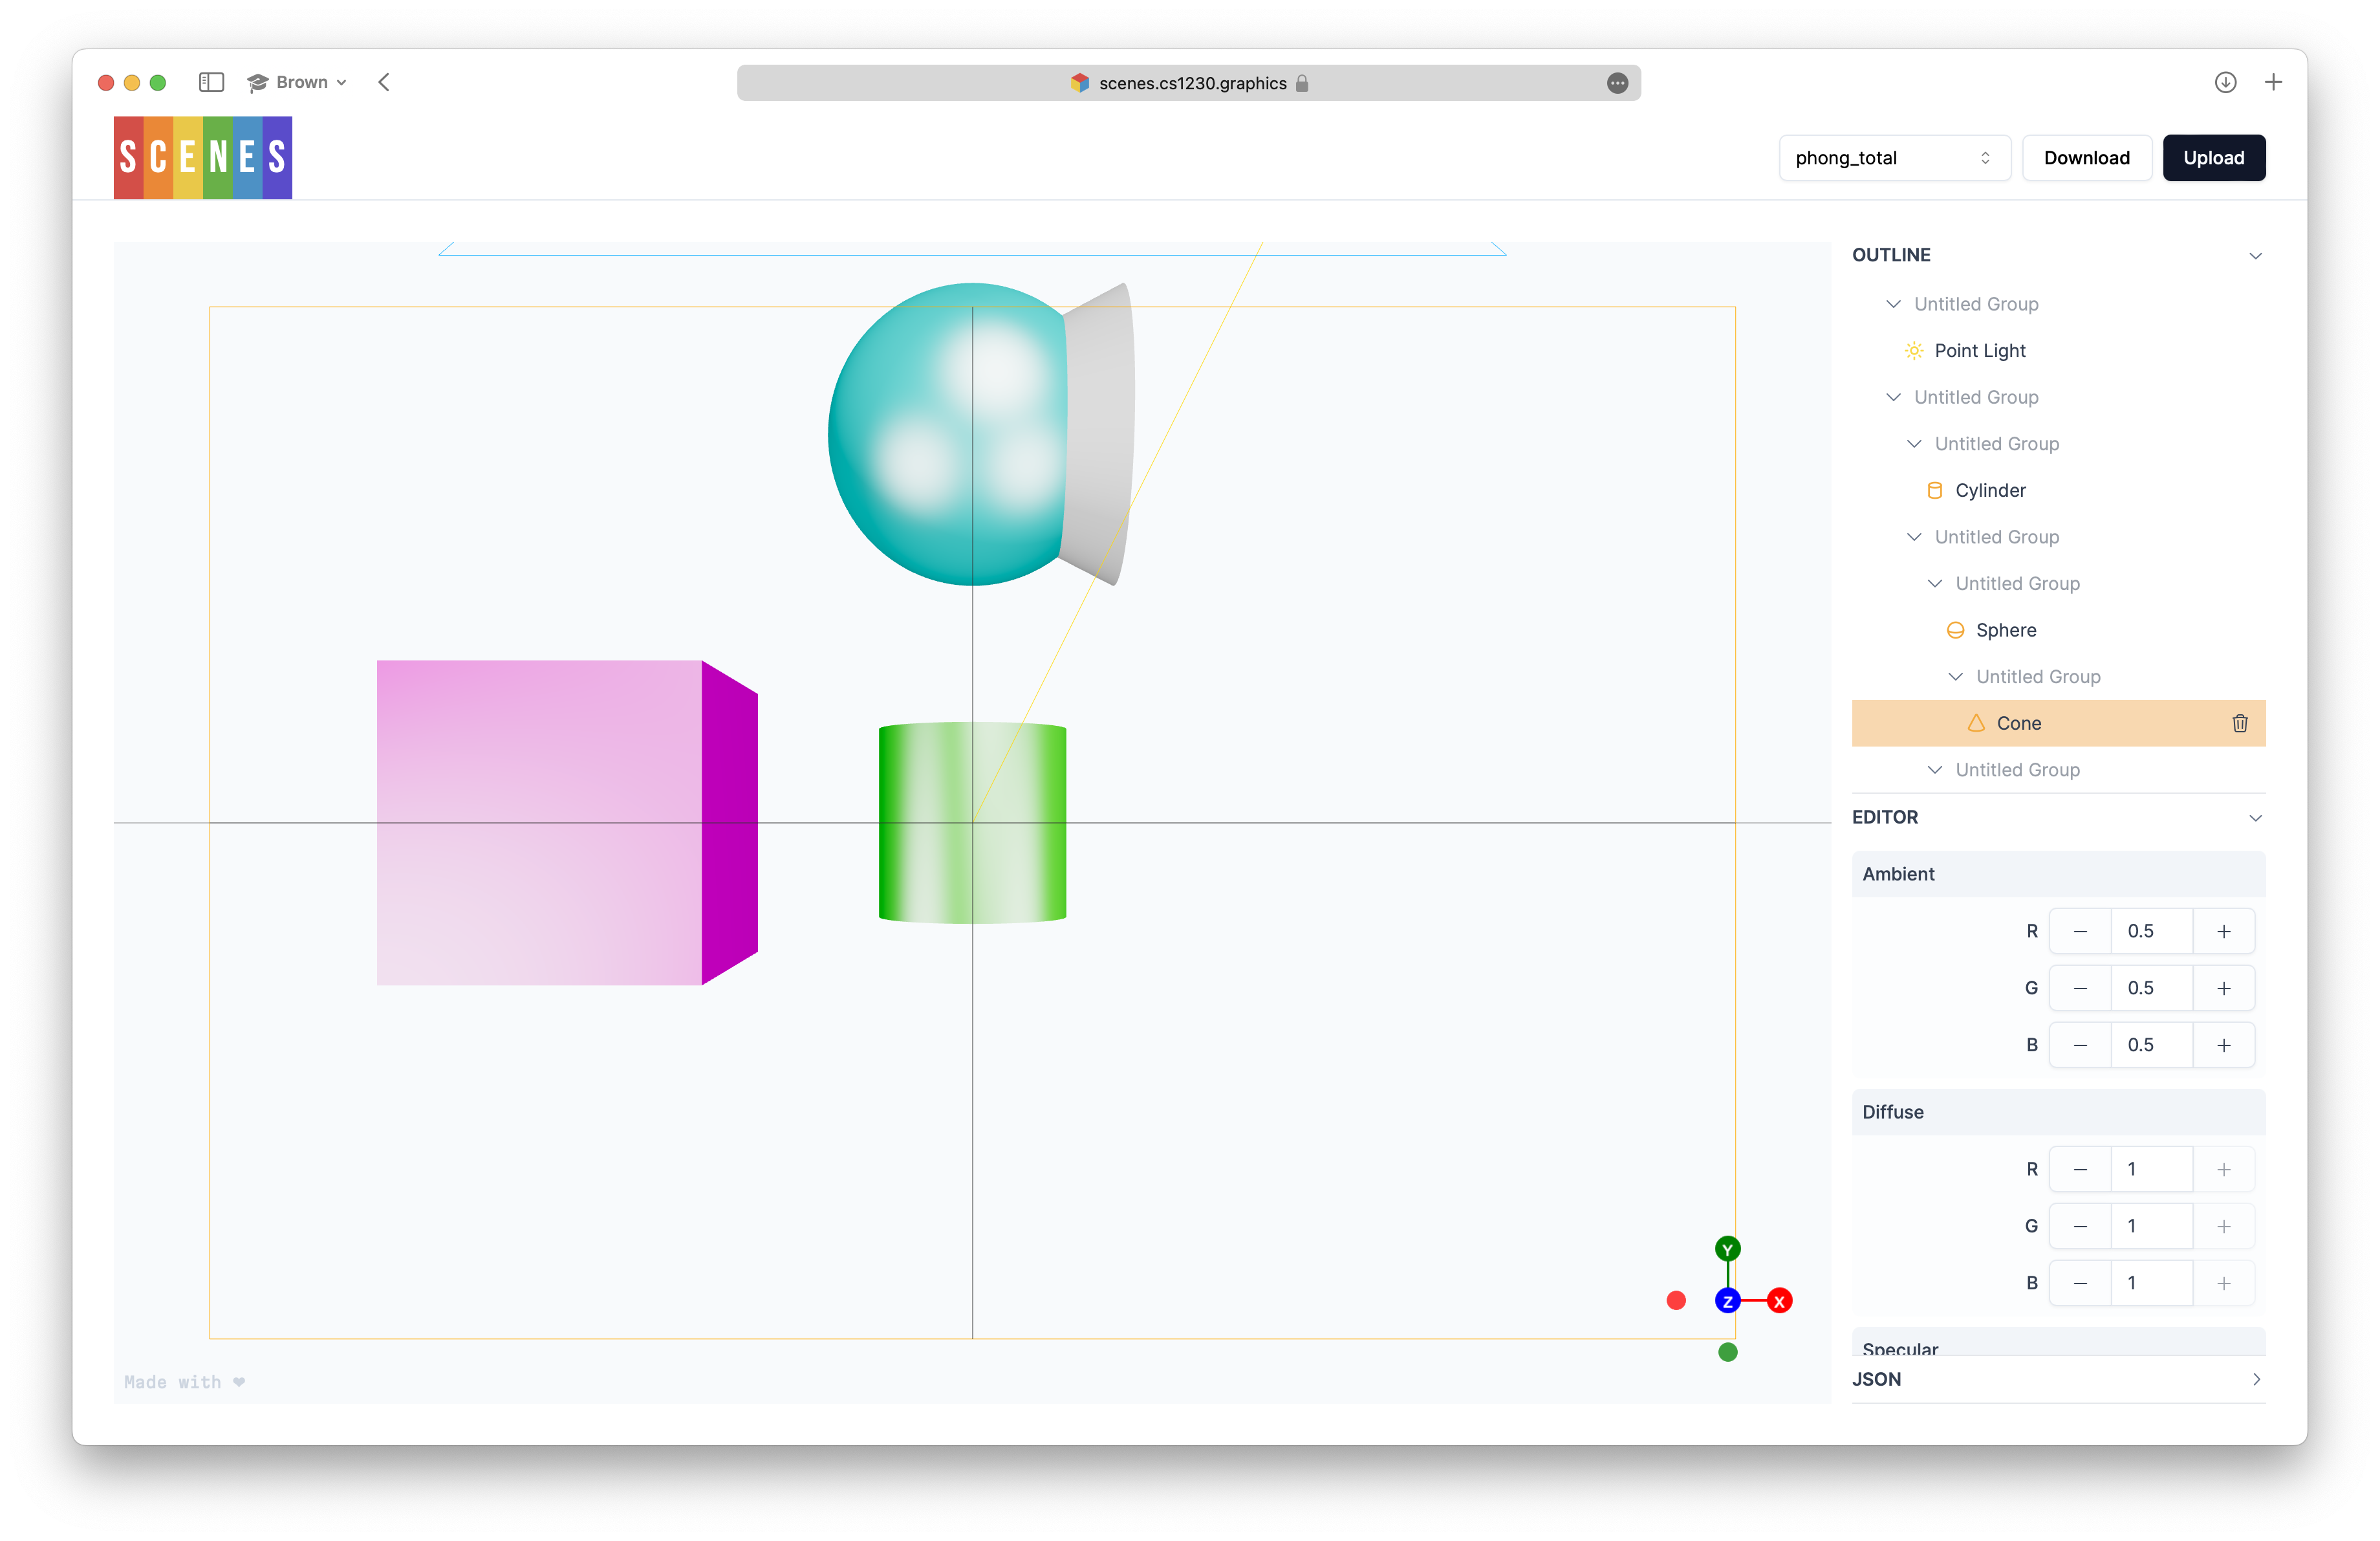
Notice that the new cone has appeared inside the sphere - this is because the cone inherits the transforms of the sphere's group.
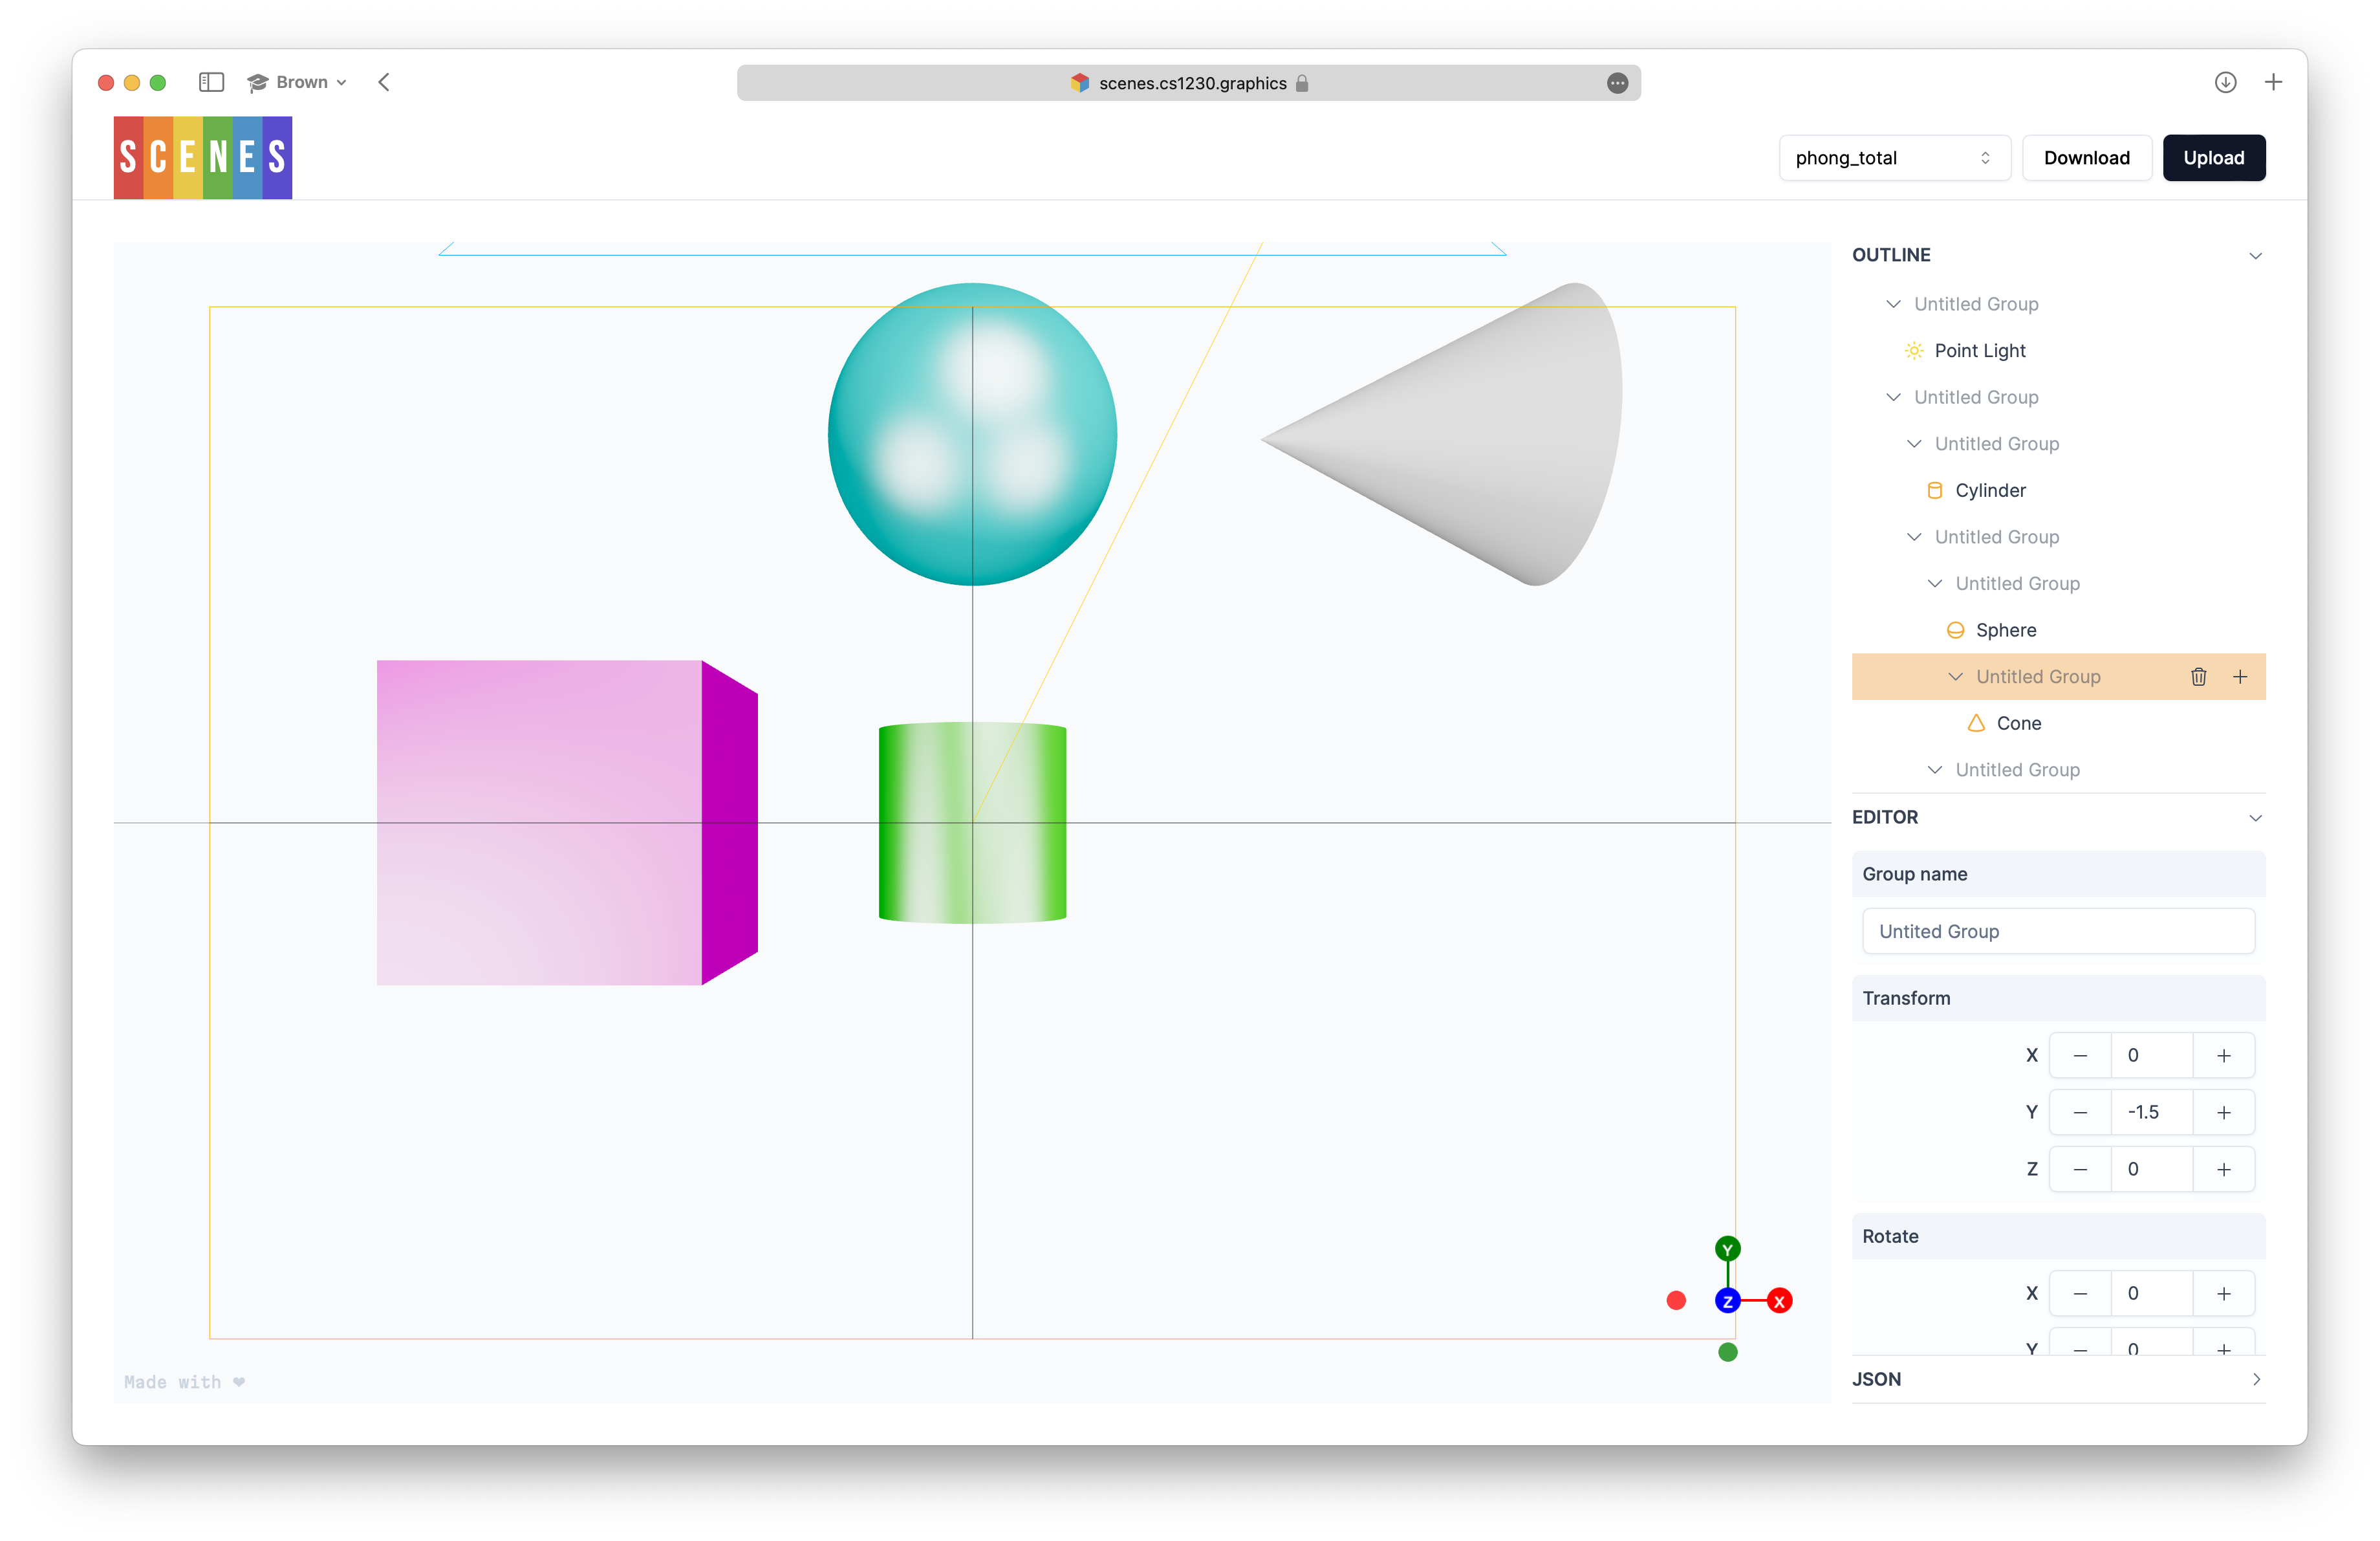
To move the cone, let's click on the new group we made containing the cone and translate it. Because its parent group has previously been rotated, we find that in order to move the cone to the right in our view, we will have to decrease the Y term. -1.5 should be a good value.
Tip: you can click and drag the input fields in the Editor to change their values!
Looks great! From here, we can adjust the material properties of this new cone. Let's make the cone a nice red color. We can do this by selecting the cone in the outline and changing the "Ambient" color in the Editor to [0.5, 0, 0] and the "Diffuse" color to [1, 0, 0].

Fantastic! Finally, let's render the scene from a different perspective. We could manually adjust the camera position and orientation with the Editor controls, but there's something a lot easier we can do. Let's click, drag, and scroll in the viewport to set its view to something we like:
We can set the scene's camera to match our current viewport view - just select the Camera in the Outline and clikc "Save view" in the Editor.
Now, the camera has moved to our current view - isn't that so easy?
Now that we're done making edits, we can export the scene by clicking the "Download" button. The JSON scenefile file (in this case, called "phong_total.json") will be downloaded to your computer. Now, you can render your new scene in your own or a TA Ray implementation, or you can import it back into Scenes at a later time.
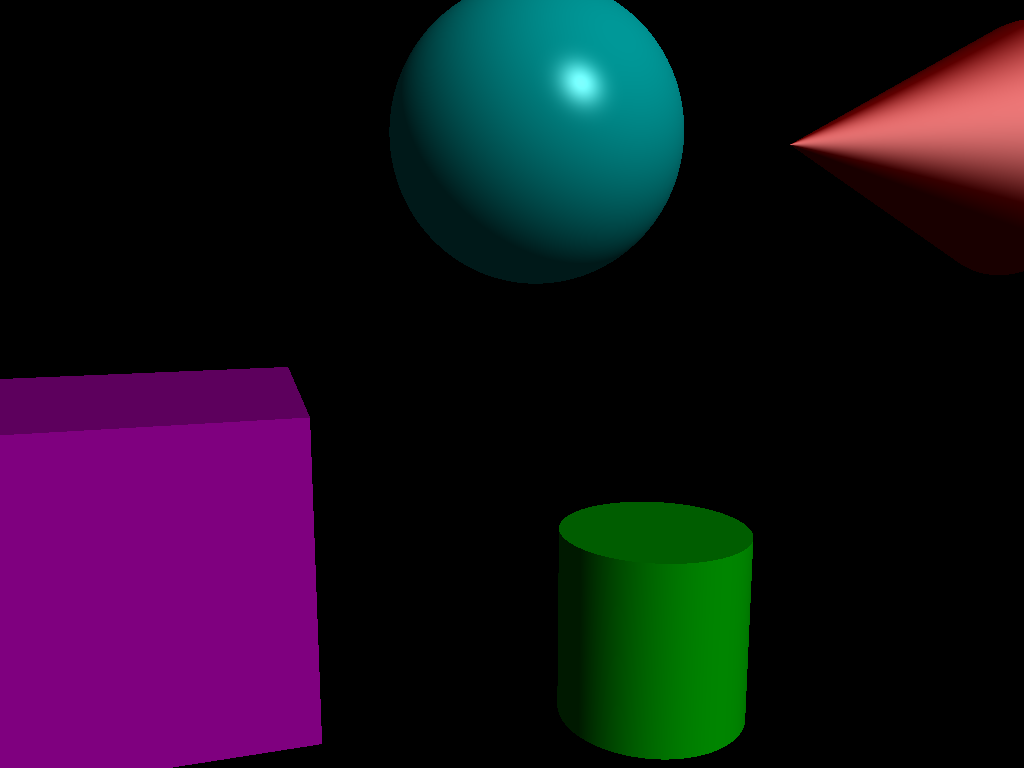
Here's a render of our final scene in the TA solution demo of intersect:
Now, you are ready to start using Scenes. Have fun!