Project 2: Filter
Github Classroom assignment (same assignment as before)
You can find the algo for this project here.
Introduction
In Brush, you modified arrays of pixels to create your own digital images. In Filter, you'll instead be using image processing techniques to manipulate existing images.
To do so, you will be implementing a few common image processing algorithms using convolution to create filters not unlike those you might find in an image-editing application such as Photoshop.
Requirements
You must implement 3 filters—blur, edge detect, and scale— using convolution with separable kernels.
Blur
Implement a blurring filter that blurs the image using the kernel radius set by the GUI slider. You may use a triangle or Gaussian blur for this, but not a box blur. Remember to normalize your kernel to prevent changes in brightness!
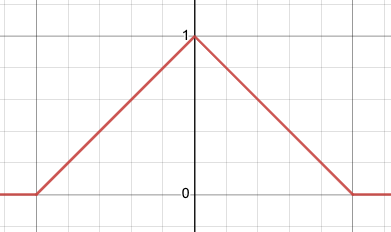
Triangle Filter
Recall from lectures that the triangular filter has a linear falloff. Its analytical formulation is trivial, and is thus left as an exercise to the reader.
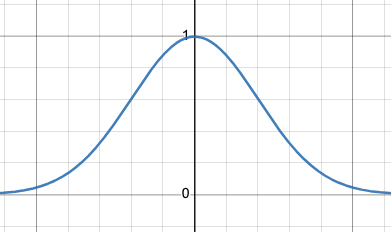
Gaussian Filter
The Gaussian filter uses the Gaussian function to get its kernel values:
For the best blur effect, given a blur radius of
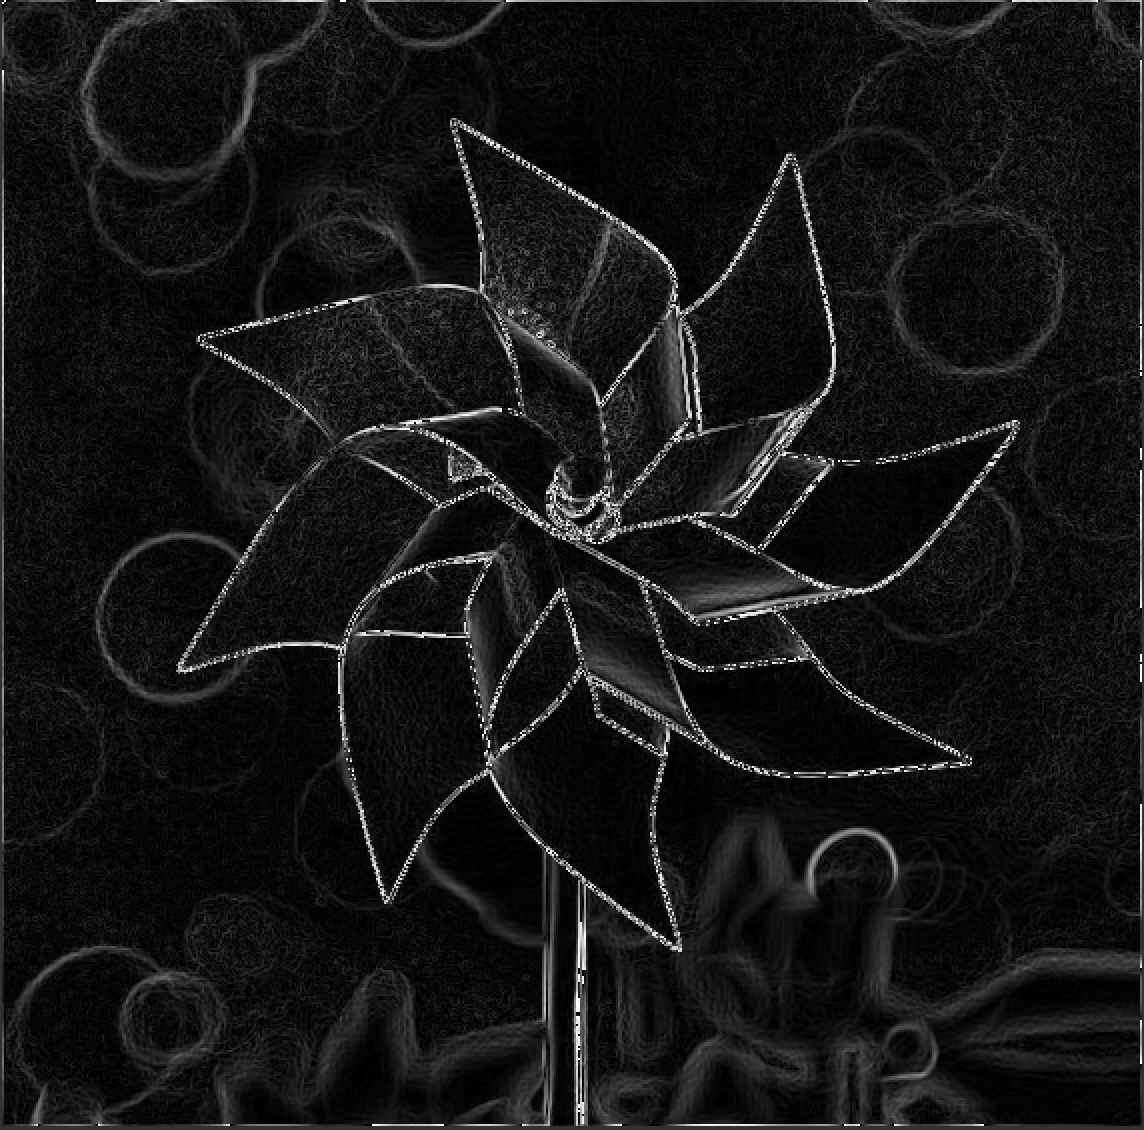
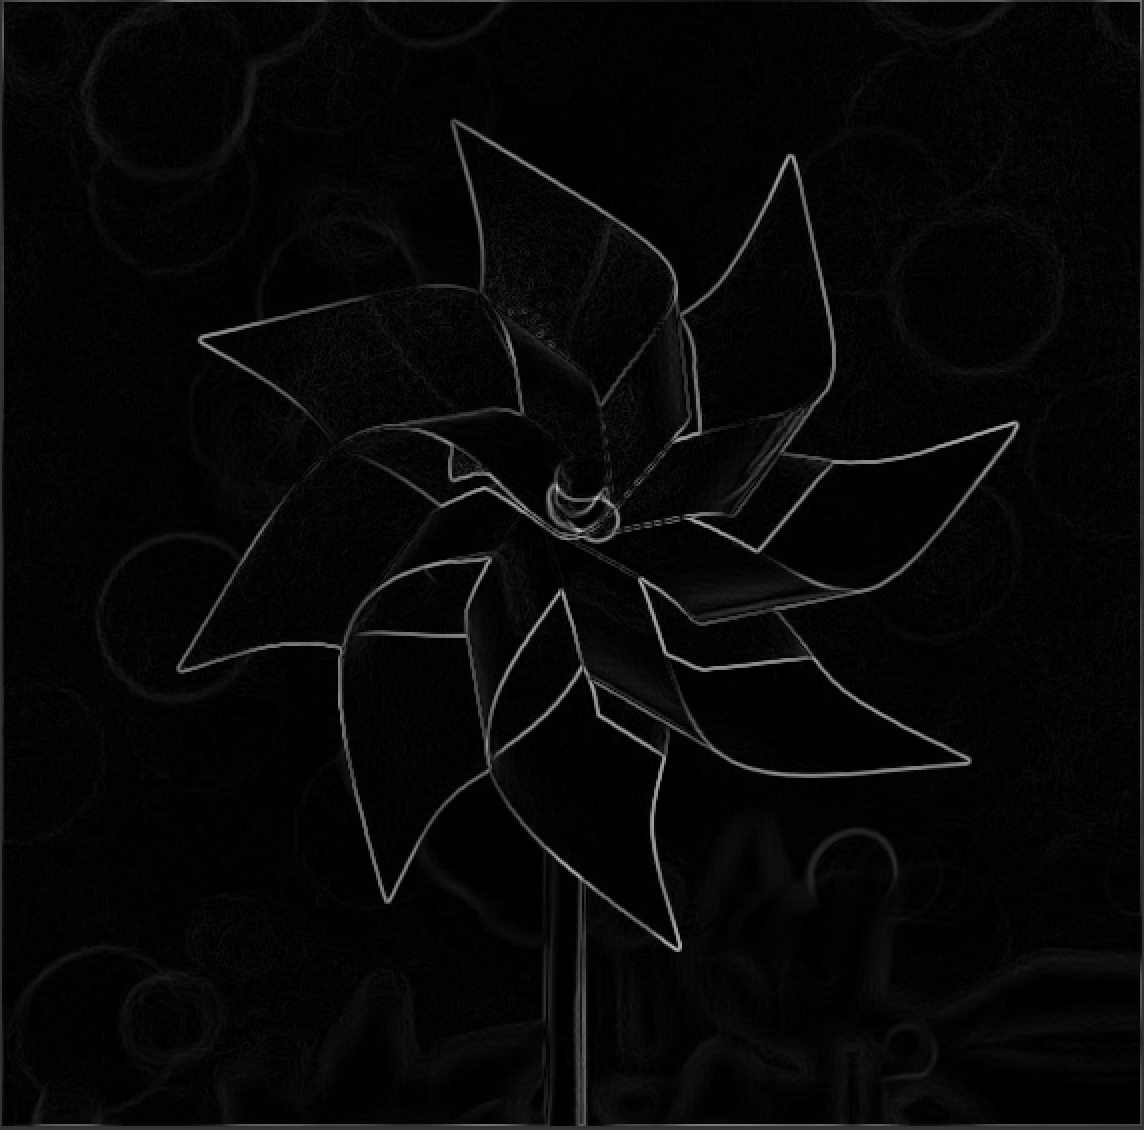
Edge Detection (Sobel Operator)
Implement an edge detection filter, which highlights areas with high-frequency details (i.e. edges). This can be done by converting the input image to grayscale, convolving with Sobel filters (once for each of x and y), then combining the two outputs.
Convolution with a Sobel filter approximates the derivative of the image signal in the spatial domain in some direction. By convolving our input image x and y directions, we obtain two images
These images represent the approximate derivatives of the image in the x and y directions respectively. We can then approximate the magnitude of the gradient of the image as such:
Note that the values in sensitivity parameter settings. Specifically, you should multiply by the sensitivity parameter before clamping. Otherwise, the parameter would be making the edge map darker without solving for the loss of detail.
You do not need to normalize your Sobel kernels. It is neither possible, nor desirable to do so, since they sum to zero by design.
Sobel Kernels Separated
Sobel kernels can be separated in this manner:
Scaling
Implement a scaling filter which can scale images both up and down, horizontally and vertically, based on the scale factor parameters x and y from the GUI. You must do so by resampling the image. Be sure to pre-filter the image, as discussed in lecture.
Everything you need to know for this implementation has already been covered in great depth during lectures. For more detail, refer back to the Image Processing III lecture.
As with blurring, remember to normalize your kernels to prevent changes in brightness.
Be careful with sizing your output image. There's no guarantee that the image's original width multiplied by the scale factor x will be an integer. The same goes for the image height. To account for this possibility, make sure to round (or floor) the dimensions of your output image.
Stencil Code
You already have the stencil code for this assignment; it's in the same repository as the one you worked in for Project 1: Brush. The code for this project is similar to the code you worked with in Lab 3: Convolution, with some minor naming differences.
Loading Images
You can open an image using the "Load Image" button in the Filter menu, which will import the image and display it on the canvas. Once you have loaded in an image, the image data becomes the canvas data. Accessing the canvas data as you have done in previous assignments is then equivalent to indexing into the image's pixels, and you can modify the pixels by modifying the RGBA structs as before. As a reminder, you will need to call Canvas2D's displayImage function to update the canvas after you make changes to the RGBA data vector.
filterImage()
In Canvas2D, there is a function called filterImage() which you will need to fill in. When the Filter button is pressed in the GUI, this function will be called, which should then apply the selected filter to the image loaded into the canvas. As you did in Brush, you can figure out which option has been selected in the GUI using the Settings class.
You should not be doing all of your convolution directly in the filterImage() function. Instead, practice good software engineering by organizing your filter computations into appropriate helper functions/classes.
Design
Think about how to avoid redundancy and inefficiency in your code. Some of the tasks such as blurring and edge detection which have a constant kernel use the same computations for doing convolution.
Separable Kernels
Recall also that many 2D kernels are separable. A 2D kernel is separable if it can be expressed as the outer product of two 1D vectors. In other words, a kernel is separable if we can get the same result by convolving first with a vertical column vector, and then a horizontal row vector.
For all three required filters, you must use separable kernels. That is, you must perform image convolution by convolving your input with a horizontal, then vertical vector, in succession:
- For blurring, the filter functions themselves are the separated kernels;
- For edge detection, we have provided the separated kernels; and
- For scaling, which does not use a fixed kernel, you can simply scale in the
xandydirections independently.
Why do we separate our kernels?
Convolution is a computationally expensive operation.
However, given an
Image Boundaries
In lab 3, we covered different ways to handle convolution at image boundaries. You may choose any one of these methods to deal with canvas edges.
Edge Cases
Think about how you should handle certain edge cases. For example, what if the radius of the blur filter is set to 0 in the GUI? Intuitively, if we are blurring the image with a kernel of radius 0, then the filter should not blur the image when it is applied. In other words, a blur filter of radius 0 is essentially an identity filter (original image = transformed image).
Also think in terms of the convolution algorithm about why this is expected behavior. How large is a kernel with radius 0, and what should its entries be after normalizing it?
TA Demos
Demos of the TA solution are available in this Google Drive folder. projects_2d_min is the "minimum" solution with the baseline requirements complete. projects_2d_max is the "maximum" solution with all of the extra credit features implemented.
macOS Warning: "____ cannot be opened because the developer cannot be verified."
If you see this warning, don't eject the disk image. You can allow the application to be opened from your system settings:
Settings > Privacy & Security > Security > "____ was blocked from use because it is not from an identified developer." > Click "Allow Anyway"
Submission
Your repo should already contain a submission template file in Markdown format with the filename submission-filter.md, from Project 1: Brush.
Like in project 1, this file should contain your outputs for all of the required images. It should also contain the names of students you collaborated with, basic information about your design choices, any known bugs, and any extra credit you've implemented.
If you attempted any extra credit, please describe what you did, and point out the relevant parts of your code.
Grading
This assignment is out of 100 points:
- 3 Filters (70 points)
- Blur (20 points)
- Edge Detect (20 points)
- Scaling (30 points)
- General Functionality (10 points)
- Software Engineering, Efficiency, & Stability (20 points)
Remember that filling out the submission-filter.md template is critical for grading. You will be penalized if you do not fill it out.
Extra Credit
For extra credit we encourage you to try implementing some extra filters of your choice. Below we provide a list of suggestions, though you are also welcome to come up with your own:
- Median Filtering (up to 3 points): Instead of convolving a kernel as usual, take the median over a sample area (the size of which is adjusted by the radius in settings). Filter the red, green, and blue channels separately. This filter has the effect of removing noise from an image, but also has a blur effect.
- Tone Mapping (up to 3 points): Modify the dynamic range of an image by mapping the minimum and maximum brightnesses to a new range. You should do this in two ways and compare the results:
- Linear: Modify the image to automatically stretch the dynamic range between full black and white. In other words, images that are too dark will be automatically brightened. Images that are too bright will become darkened.
- Non-linear: Apply a gamma correction to the image (using the gamma parameter in settings).
- Chromatic Aberration (up to 3 points): Due to dispersion, camera lenses don't perfectly focus all wavelengths of incoming light to the same point. This results in chromatic aberration, an effect where you can sometimes see 'fringes' of different colors in a photographed image. A basic to simulate this is to intentionally mis-align the different color channels. We provide you with 3 parameters in settings
rShift,gShift, andbShiftfor the amount of distortion along each channel of the image. You may scale/modify these parameters as you see fit. - Rotation By Arbitrary Angles (up to 10 points): Be sure to do this the "right" way (using correct backmapping) to avoid ugly aliasing! Also, similarly to other filters, rotation should be able to be applied consecutively on the same image.
- Bilateral Smoothing (up to 10 points): Blur the image with preserving sharp edges. This filter has a really neat, photo-enhancing effect. Adobe Photoshop implements a bilateral filter in its surface blur tool. There are many online resources about bilateral filtering; one example is the SIGGRAPH 2008 course A Gentle Introduction to Bilateral Filtering and its Applications. The naïve implementation of the bilateral filter is
per pixel, which is overall. We'll give you full credit for this feature if you implement the naïve version; you can earn even more extra credit if you implement a faster version ;)
If you come up with your own filter that is not in this list, be sure to check with a TA or the Professor to verify that it is sufficient.
CS 1234/2230 students must attempt at least 10 points of extra credit.
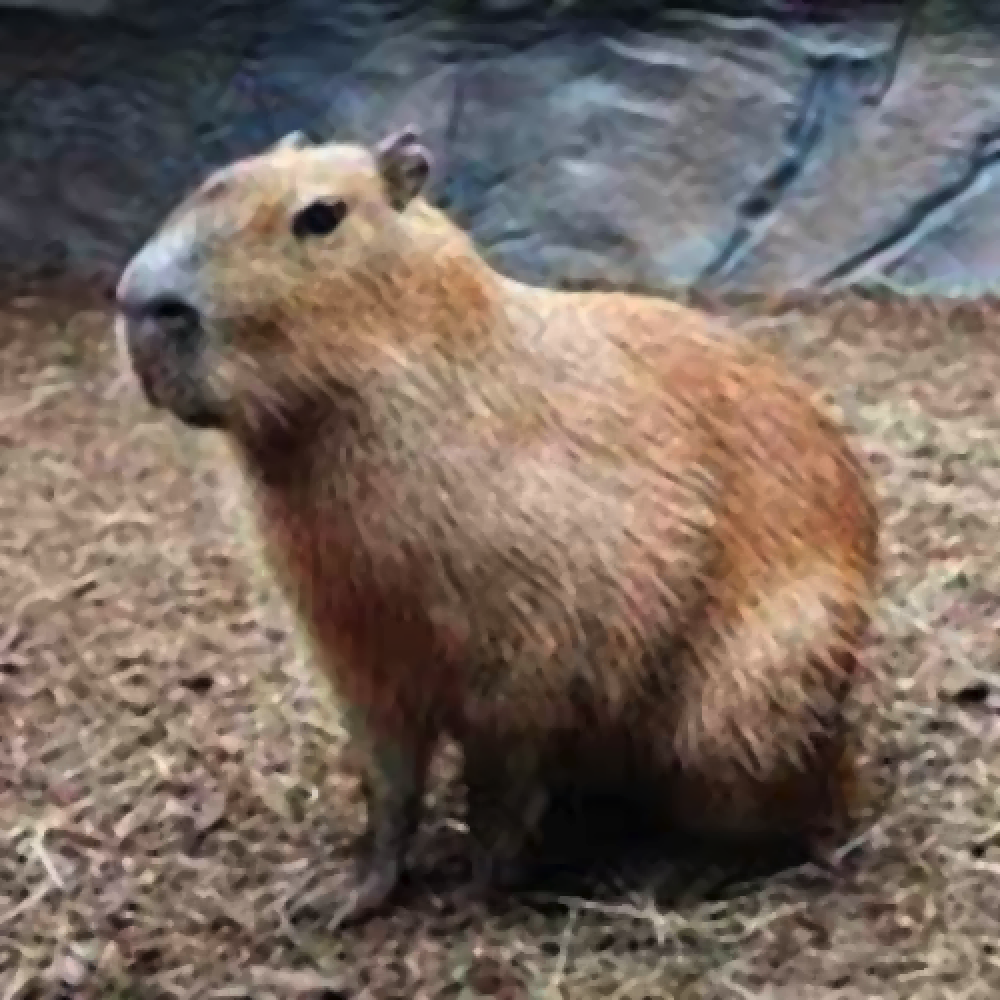
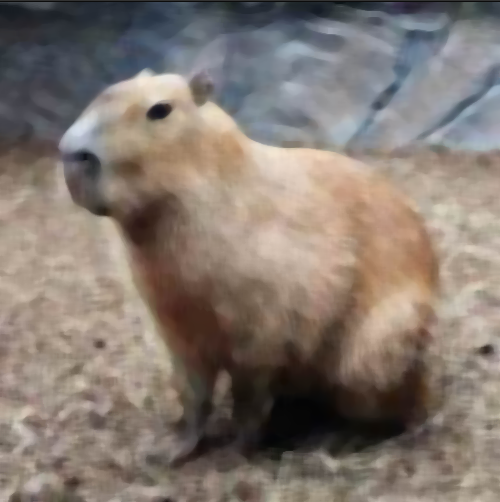
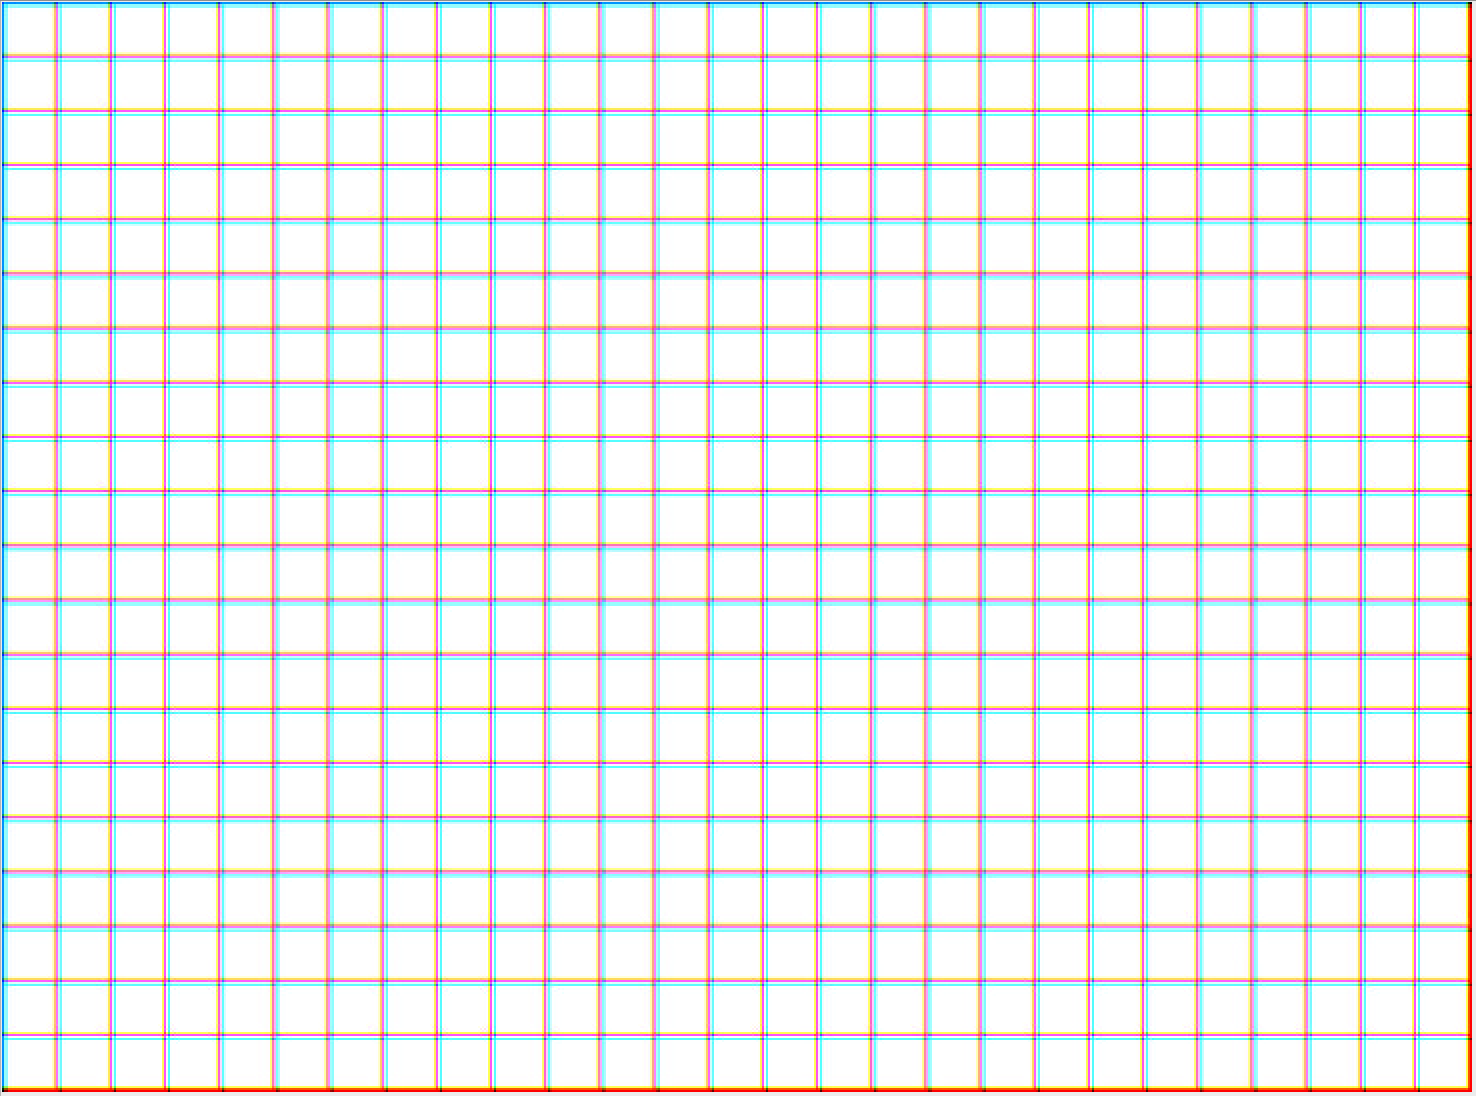
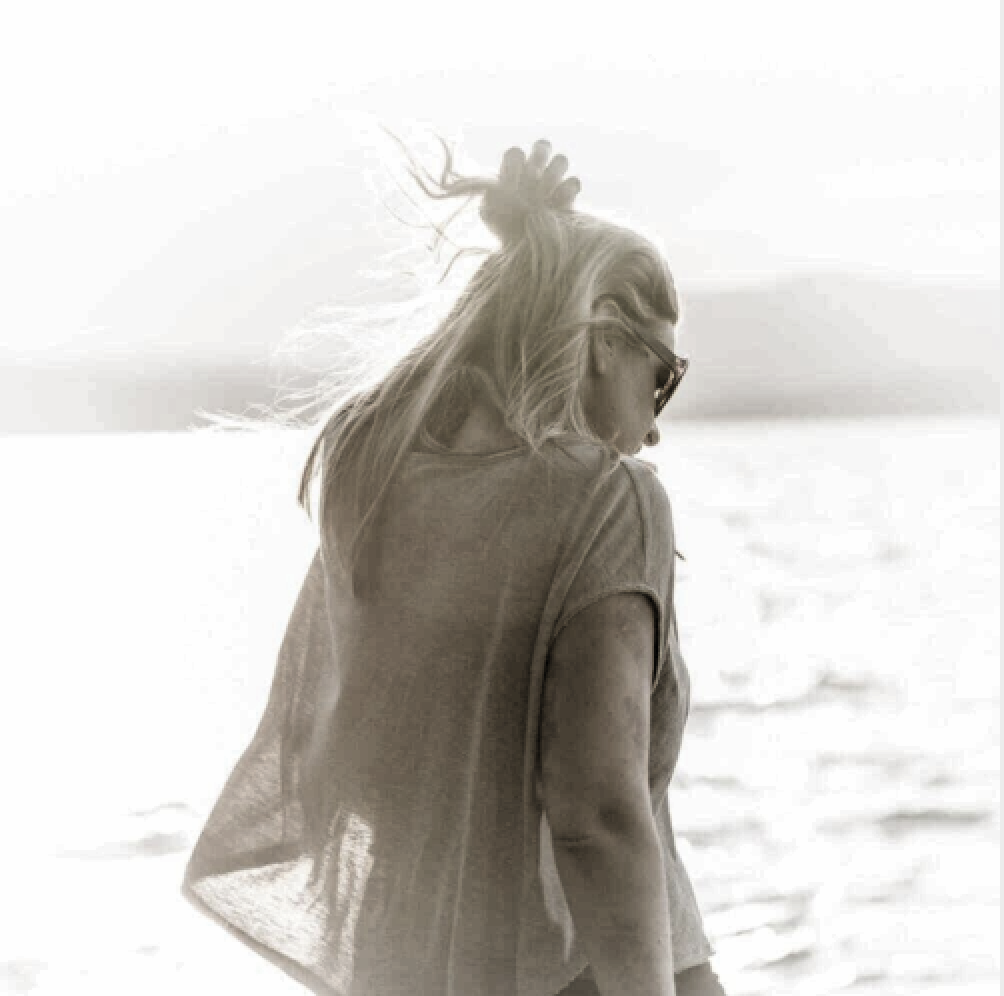
Reference Images
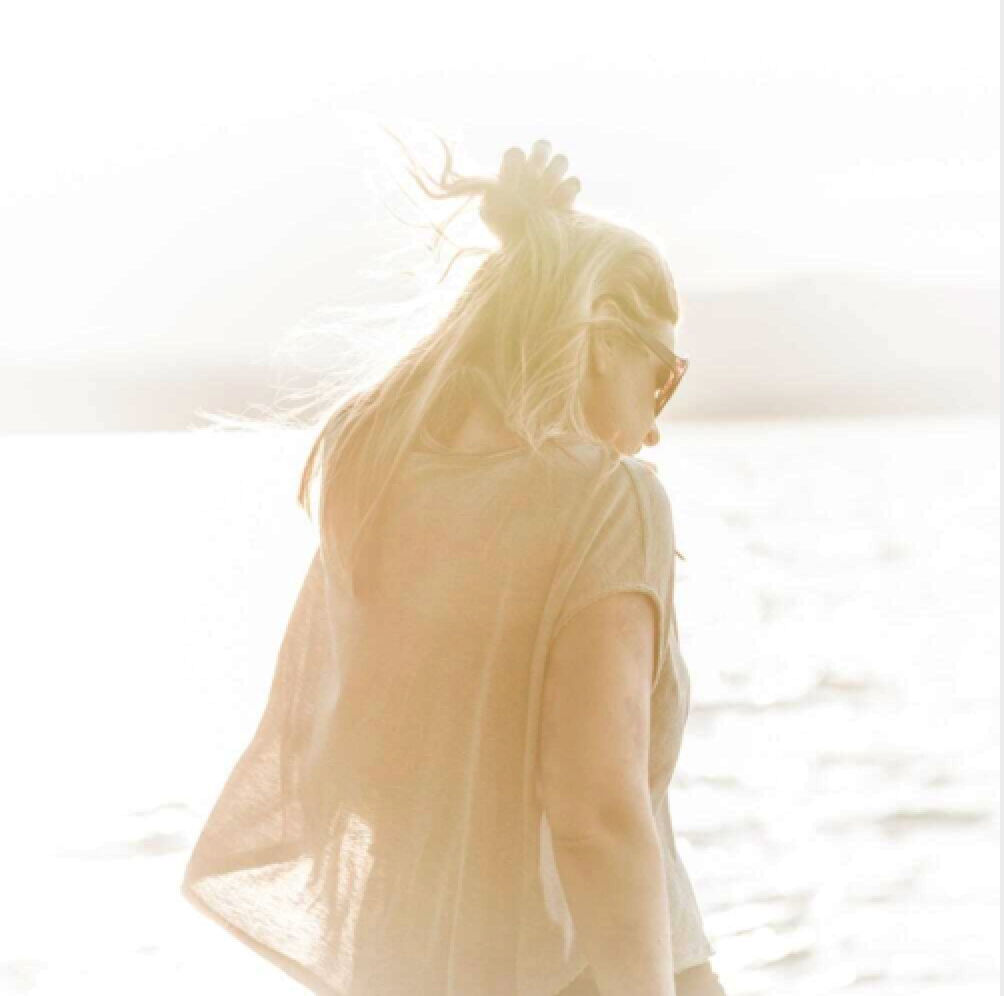
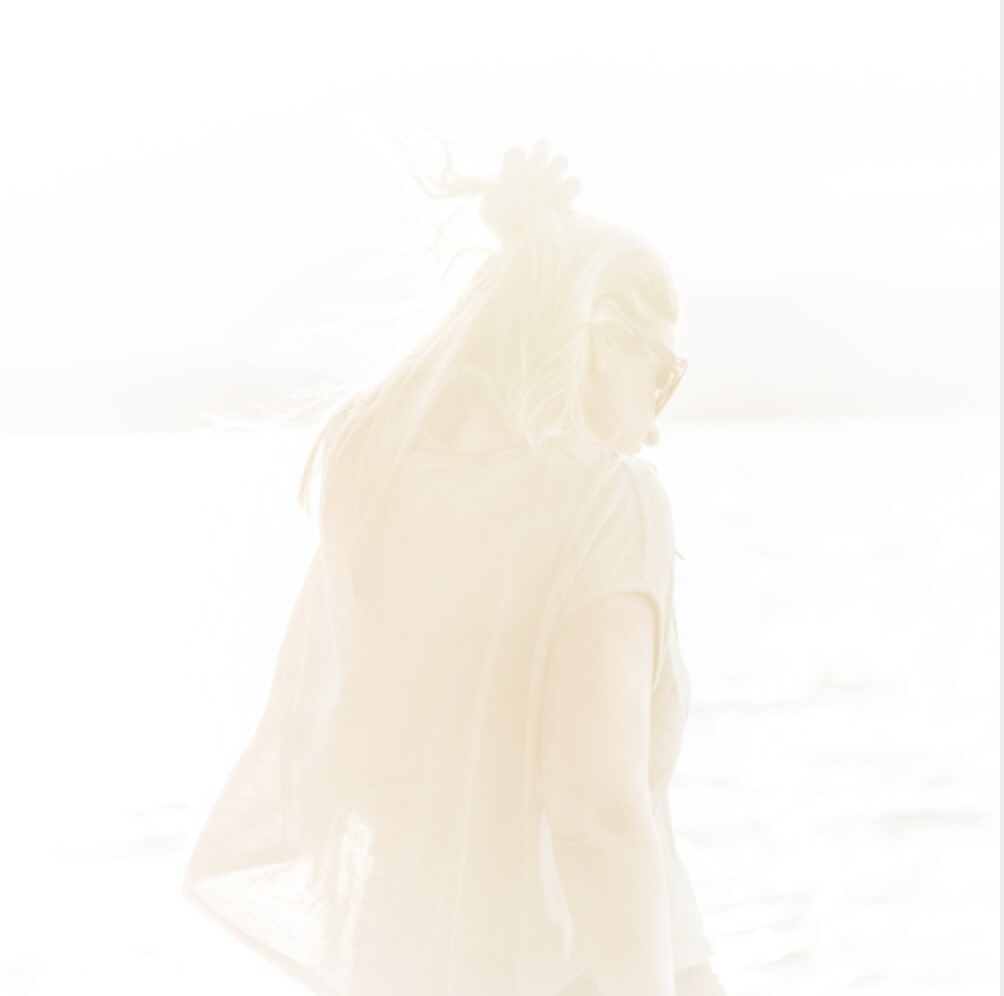
Blur


Edge Detect
Scale


Median
Chromatic Aberration

Tone Mapping
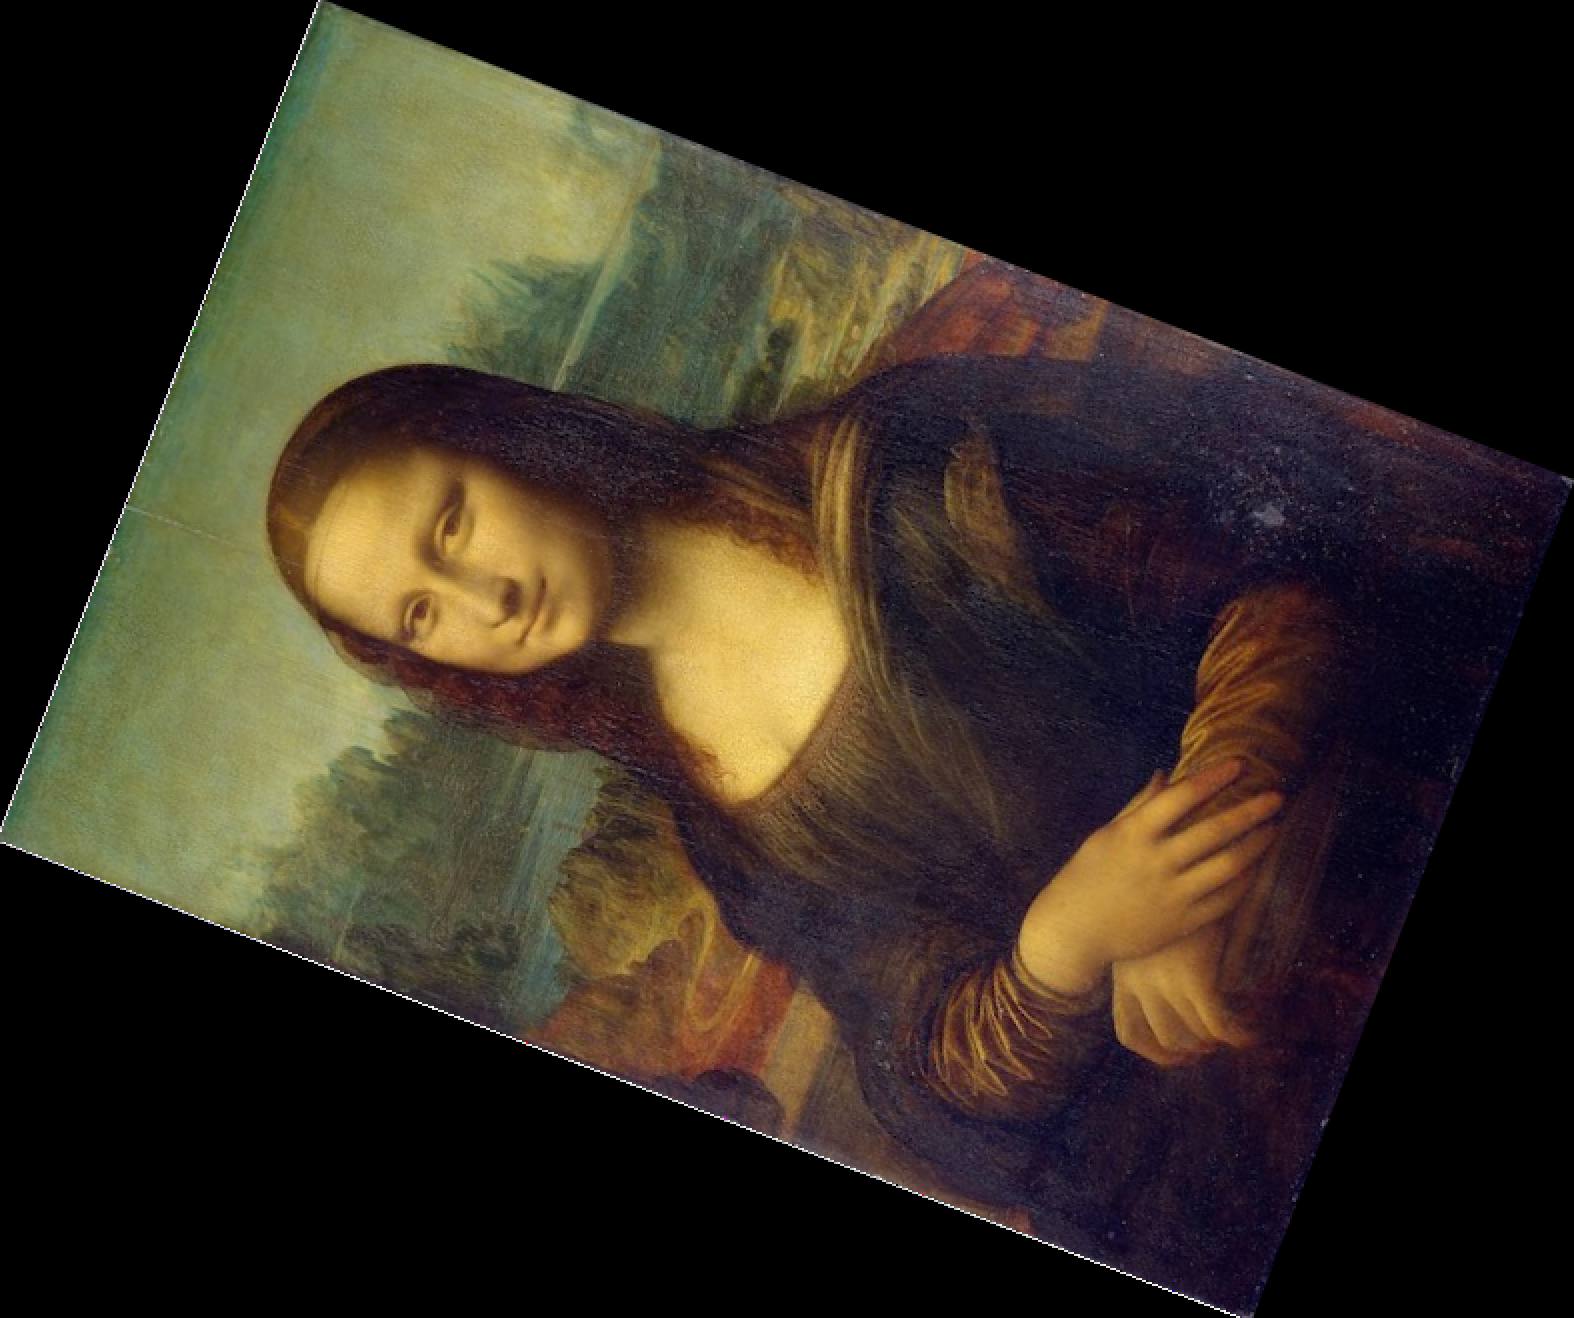
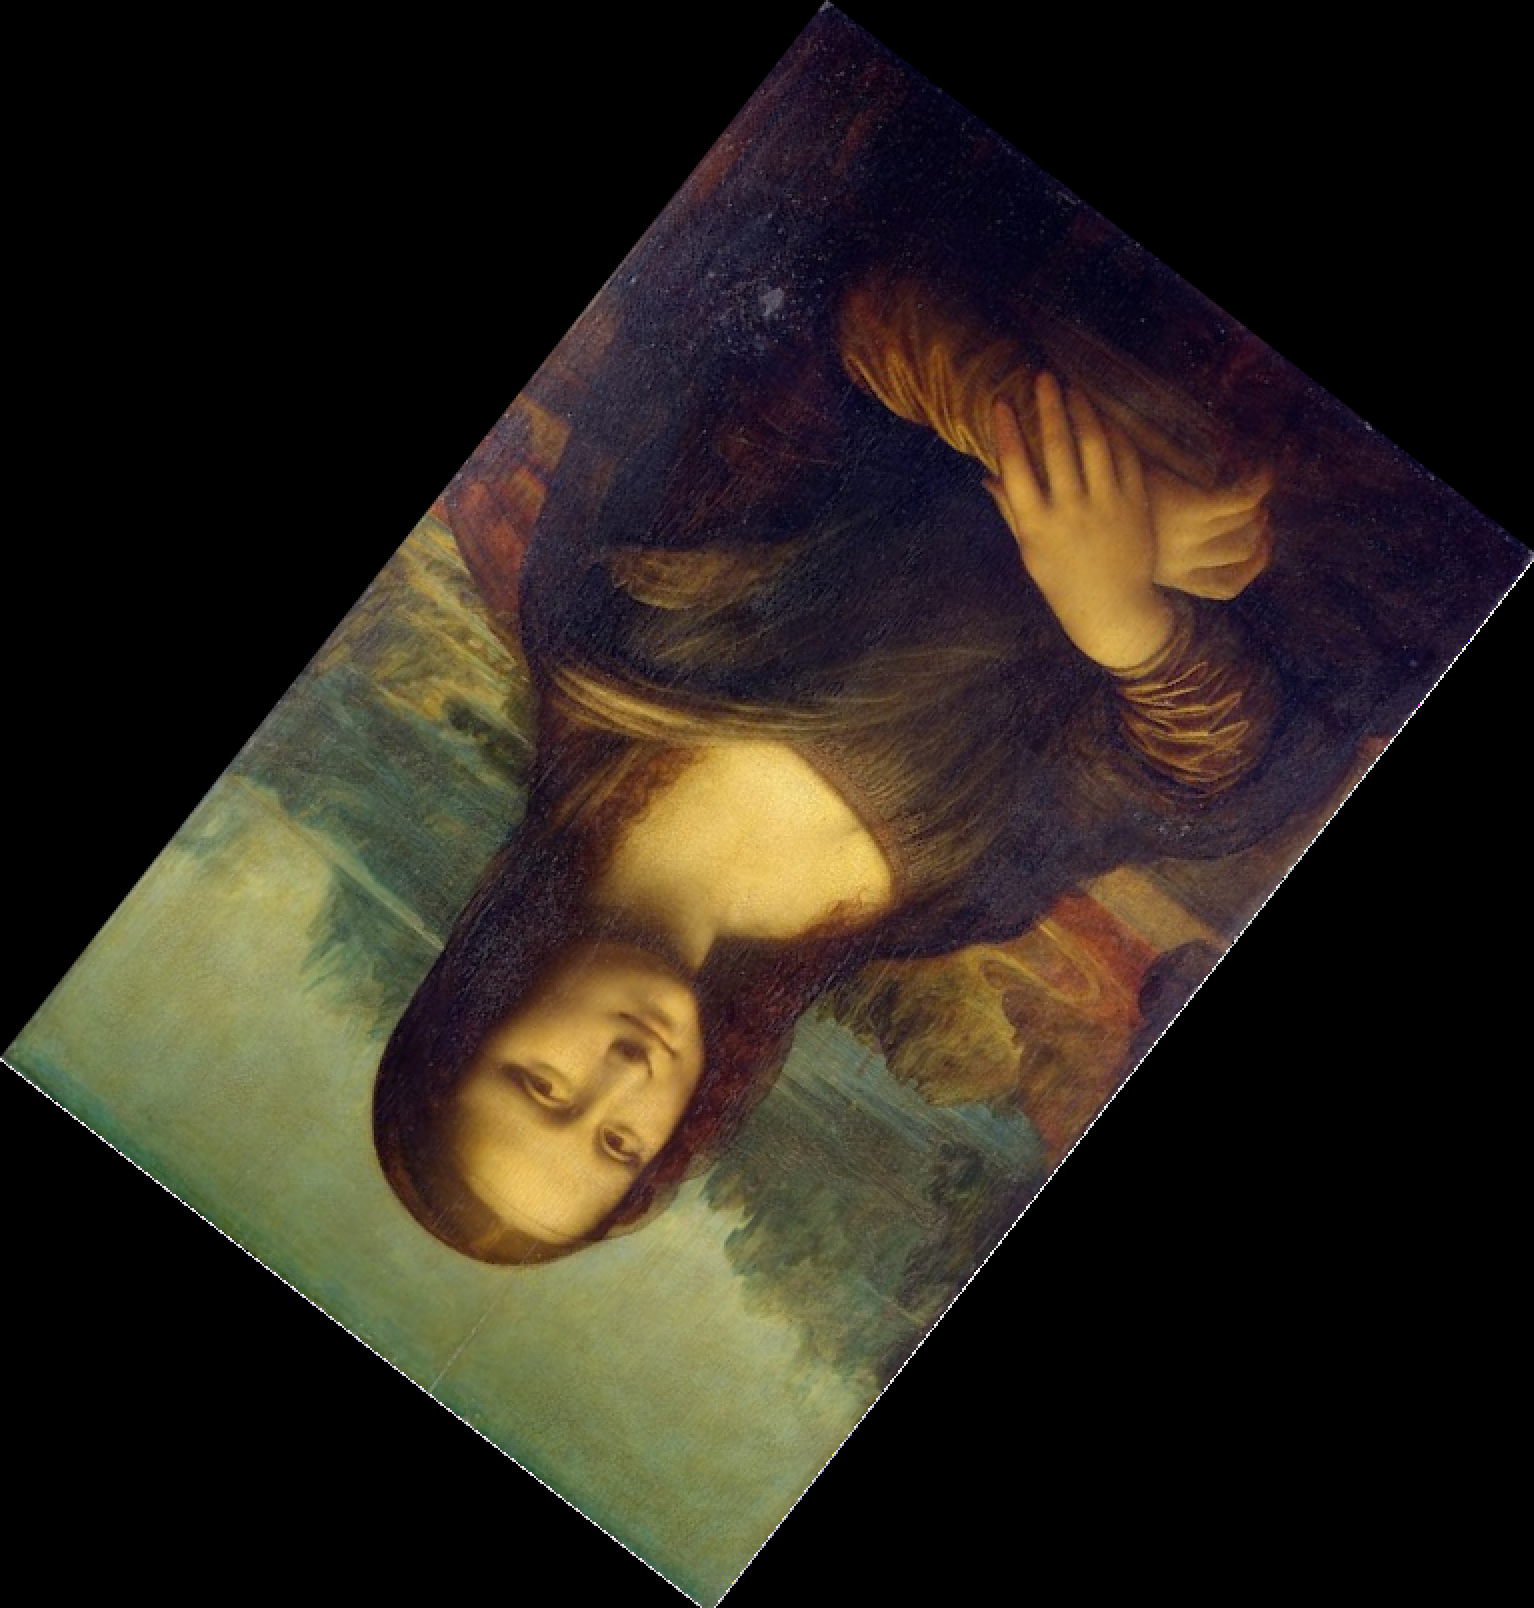
Rotation
Bilateral Smoothing

Submission
Submit your Github repo for this project to the "Project 2: Filter (Code)" assignment on Gradescope.